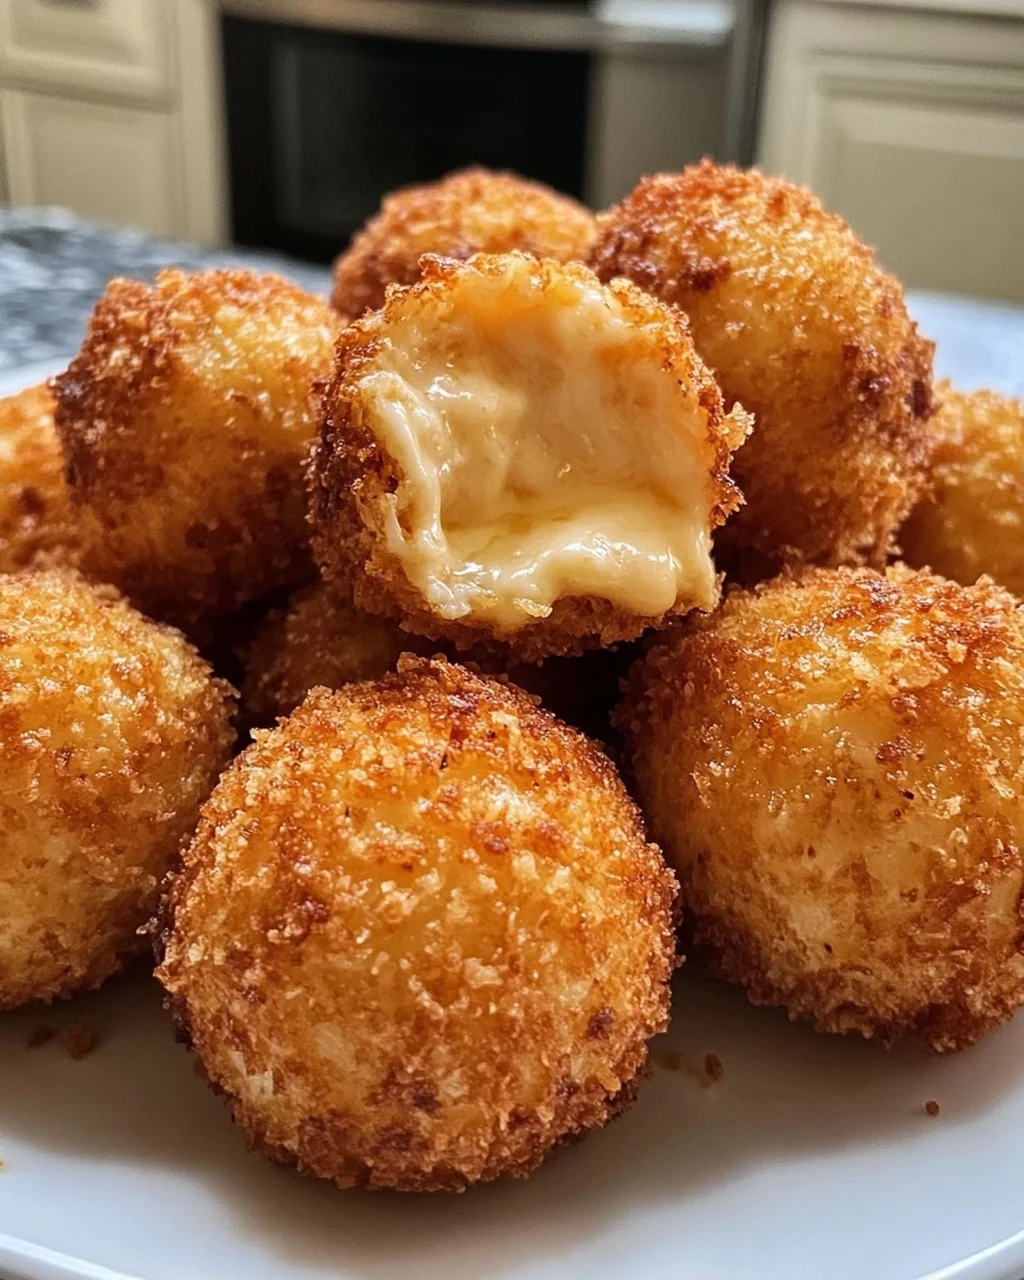
If you’re looking for a delightful snack that’s sure to impress your family and friends, you’ve come to the right place! These Crispy Fried Cheese Balls are not only incredibly tasty, but they’re also a joy to make. Whether it’s a busy weeknight, a fun game day, or a cozy family gathering, these cheesy bites are always a hit. Imagine biting into that warm, gooey cheese encased in a perfectly crispy shell—pure bliss!
This recipe is one of my favorites because it’s so easy to whip up with simple ingredients you probably already have at home. Plus, they can be made ahead of time and frozen for a quick treat whenever the craving hits!
Why You’ll Love This Recipe
- Easy to Make: With just a few simple steps, you’ll have these delicious cheese balls ready in no time!
- Family-Friendly: Everyone loves cheese! These crispy bites are sure to please even the pickiest eaters.
- Versatile Snack: Perfect as an appetizer at parties or as a fun side dish for dinner.
- Make-Ahead Option: You can freeze the uncooked cheese balls and fry them fresh whenever you want a snack.
- Irresistibly Delicious: The combination of Monterey Jack and sharp cheddar creates an unforgettable flavor!

Ingredients You’ll Need
Making these Crispy Fried Cheese Balls is straightforward, thanks to some simple and wholesome ingredients. Here’s everything you need to gather before diving into this cheesy adventure.
For the Cheese Mixture
- 8 ounces about 1 cup shredded Monterey Jack cheese
- 4 ounces about ½ cup sharp cheddar cheese, shredded
For the Breading Station
- 1 large egg
- 1 tablespoon water
- 1 cup all-purpose flour
- 1 teaspoon garlic powder
- 1 teaspoon onion powder
- ½ teaspoon salt
- ¼ teaspoon black pepper
- 1 ½ cups panko breadcrumbs
- Paprika (optional)
For Frying
- Vegetable or canola oil for frying
Variations
This recipe is wonderfully flexible! Feel free to get creative with your ingredients and customize your cheese balls to suit your taste.
- Add Some Heat: Mix in some diced jalapeños or red pepper flakes for a spicy kick.
- Herbed Delight: Add dried herbs like oregano or basil into the cheese mixture for an aromatic twist.
- Different Cheeses: Experiment with different types of cheeses like mozzarella or pepper jack for unique flavors.
- Seasoned Breadcrumbs: Use seasoned panko breadcrumbs or add your favorite spices to elevate the crunch factor.
How to Make Crispy Fried Cheese Balls
Step 1: Prepare the Cheese Mixture
Start by combining the shredded Monterey Jack and sharp cheddar cheeses in a bowl. This blend gives your cheese balls that delicious melty goodness. Once mixed, you’ll want to chill this mixture until it’s rock hard; this helps the balls hold their shape when frying.
Step 2: Set Up Your Breading Stations
While your cheese mixture chills, set up three breading stations: one with flour, another with an egg wash (beat together the egg and water), and lastly, one with panko breadcrumbs. This process makes it easy to coat each ball evenly, ensuring they turn out perfectly crispy.
Step 3: Form the Cheese Balls
Once your cheese mixture is firm enough, scoop out portions and roll them into balls. Then coat each ball in flour first, dip it into the egg wash, and finally coat it with panko breadcrumbs. This three-step coating technique creates that irresistible crunchy exterior!
Step 4: Freeze Again
After breading all your cheese balls, pop them in the freezer again for 20-30 minutes. This step is crucial as it helps maintain their shape while frying and ensures that gooey center stays intact.
Step 5: Fry Until Golden Brown
Heat vegetable oil in a heavy pot until it reaches 375°F (190°C). Fry the cheese balls in batches for about 2-3 minutes until they are deep golden brown. Be sure not to overcrowd the pot; this allows them to fry evenly and get that perfect crispiness.
Step 6: Drain and Serve
Once fried, carefully transfer your crispy fried cheese balls onto a wire rack to drain any excess oil. Serve them immediately while they’re hot and gooey inside—you won’t be able to resist!
Pro Tips for Making Crispy Fried Cheese Balls
Creating the perfect crispy fried cheese balls can be a delightful experience, and a few handy tips will ensure your dish is a resounding success!
Use cold cheese: Starting with chilled cheese will help it hold its shape during frying. Warm cheese can melt too quickly, leading to gooey results instead of the crispy texture you desire.
Double coat for extra crunch: For an even crispier exterior, double-dip the cheese balls in flour, then egg wash, and finally panko breadcrumbs. This extra layer will provide that satisfying crunch and prevent the filling from leaking out.
Don’t overcrowd the pot: Frying too many cheese balls at once can lower the oil temperature, resulting in greasy rather than crispy bites. Work in batches to maintain that perfect frying temperature.
Keep an eye on oil temperature: Using a thermometer to monitor the oil temperature is crucial. If it’s too hot, the outside will burn before the inside cooks; too cool, and your cheese balls may absorb excess oil.
Serve immediately for best results: These cheesy delights are best enjoyed fresh out of the fryer when they are hot and crispy. If you need to make them ahead of time, store them properly to maintain their texture.
How to Serve Crispy Fried Cheese Balls
When it comes to serving your crispy fried cheese balls, presentation can elevate your dish from good to great! Here are some creative ideas to make your appetizer shine.
Garnishes
Chopped fresh herbs: A sprinkle of fresh parsley or chives adds a pop of color and freshness that complements the richness of the cheese balls.
Sour cream or yogurt dip: A dollop of plain sour cream or dairy-free yogurt provides a creamy contrast that balances out the crunchy texture and enhances flavor.
Side Dishes
Mixed greens salad: A light salad with mixed greens dressed in a zesty vinaigrette adds a refreshing element to your meal and balances the richness of the cheese balls.
Vegetable sticks with hummus: Crunchy carrot and cucumber sticks paired with hummus offer a nutritious side that complements those cheesy bites perfectly.
Potato wedges: Crispy potato wedges seasoned with herbs make for a comforting side dish that pairs wonderfully with fried snacks like these cheese balls.
Garlic bread: Serve with warm garlic bread for an indulgent experience. The buttery, garlicky flavors beautifully complement the cheesy goodness of your fried treats.
Enjoy making these crispy fried cheese balls and serving them up for friends and family! They’ll surely be a hit at any gathering.
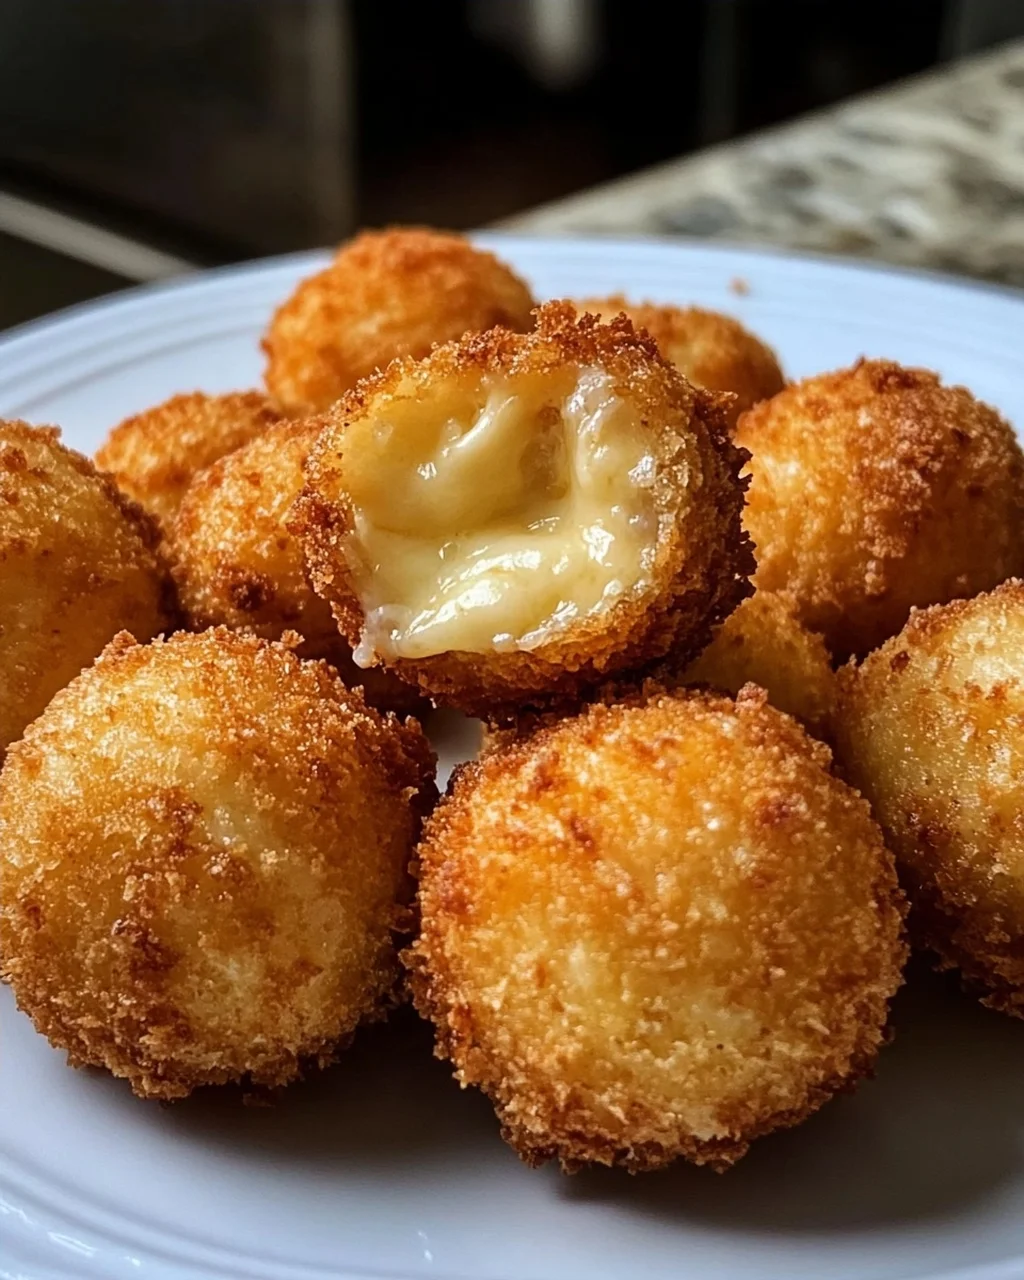
Make Ahead and Storage
These Crispy Fried Cheese Balls are perfect for meal prep! You can whip up a batch ahead of time, making them an excellent choice for parties or quick snacks. Here’s how to store and prepare them for later enjoyment.
Storing Leftovers
- Keep any leftovers in an airtight container in the refrigerator.
- They can be safely stored for up to 2 days.
- Ensure they are fully cooled before sealing to maintain their texture.
Freezing
- To freeze, place the uncooked breaded cheese balls on a baking sheet in a single layer until solid.
- Once frozen, transfer them to a freezer-safe bag or container.
- They can be stored for up to 3 months without compromising flavor and quality.
Reheating
- Preheat your oven to 375°F (190°C) when you’re ready to enjoy the leftovers.
- Place the cheese balls on a baking sheet and heat them until they’re crispy again, about 10-12 minutes.
- Avoid microwaving as it can make them soggy; the oven is key for restoring that delightful crunch!
FAQs
Here are some common questions about making Crispy Fried Cheese Balls.
Can I use different types of cheese for crispy fried cheese balls?
Absolutely! Feel free to experiment with other cheeses like mozzarella or pepper jack. Just ensure they melt well and maintain that gooey texture inside.
How do I get my crispy fried cheese balls extra crispy?
For an extra crispy coating, double-dip your cheese balls in flour, egg wash, and panko breadcrumbs. This adds additional layers of crunch that everyone will love!
Can I make these crispy fried cheese balls ahead of time?
Yes! You can prepare the uncooked cheese balls and freeze them for later frying, making them a convenient snack option for any occasion.
Are crispy fried cheese balls suitable for vegetarian diets?
Yes! These delicious bites are entirely vegetarian-friendly as they contain no meat or animal-derived ingredients, perfect for anyone looking to avoid meat products.
Final Thoughts
I hope you find joy in creating these Crispy Fried Cheese Balls—they truly are a delightful treat! Whether it’s for a gathering or just a cozy night at home, this recipe is sure to impress. Don’t hesitate to share your experiences or ask questions—I’m here to help! Happy cooking, and enjoy every cheesy bite!
Fried Cheese Balls
- Total Time: 1 hour 15 minutes
- Yield: 12 servings 1x
Description
Crispy fried cheese balls with a golden crust, perfect for snacking.
Ingredients
- 8 ounces shredded Monterey Jack cheese
- 4 ounces sharp cheddar cheese, shredded
- 1 large egg
- 1 tablespoon water
- 1 cup all-purpose flour
- 1 teaspoon garlic powder
- 1 teaspoon onion powder
- ½ teaspoon salt
- ¼ teaspoon black pepper
- 1 ½ cups panko breadcrumbs
- Paprika (optional)
- Vegetable or canola oil (for frying)
Instructions
- Prepare the cheese mixture, chill until rock hard, and set up three breading stations with flour, egg wash, and panko.
- Form the cheese into balls, coat in flour, egg, and panko, then freeze again for 20-30 minutes.
- Heat oil to 375°F (190°C) in a heavy pot.
- Fry cheese balls in batches for 2-3 minutes until deep golden brown.
- Drain on a wire rack and serve immediately while hot.
- Prep Time: 60 minutes
- Cook Time: 15 minutes
- Category: Appetizer, Snack
- Cuisine: American
Nutrition
- Serving Size: 1
- Calories: 250
- Sugar: 1
- Sodium: 400
- Fat: 12
- Saturated Fat: 6
- Unsaturated Fat: 5
- Trans Fat: 0
- Carbohydrates: 30
- Fiber: 1
- Protein: 10
- Cholesterol: 50
Keywords: Refrigerate leftovers in an airtight container for up to 2 days. Reheat in a 375°F oven to restore crispiness. Uncooked breaded balls can be frozen for up to 3 months and fried directly from frozen.