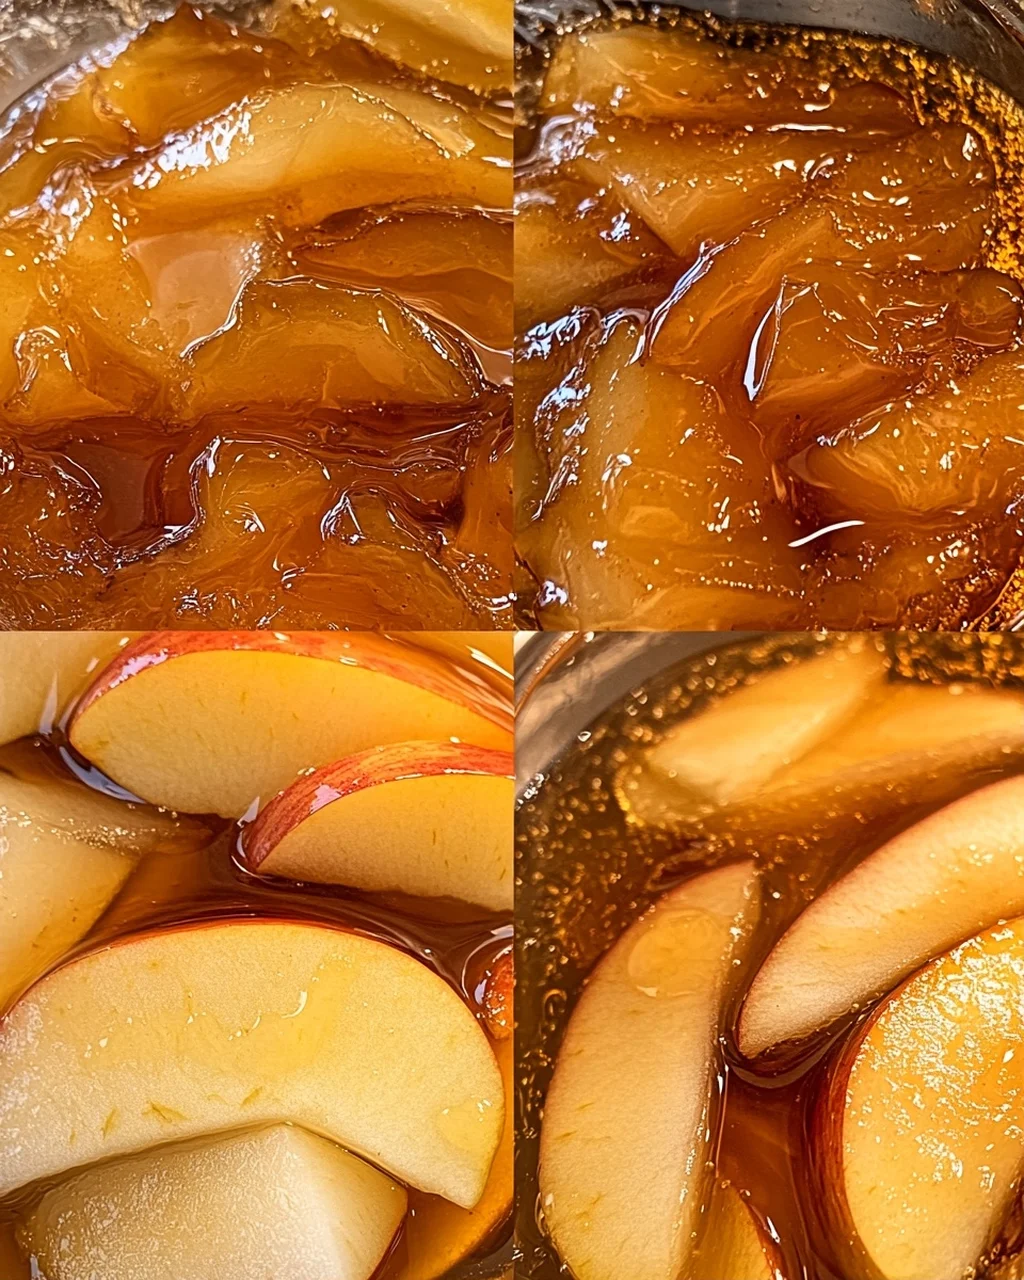
If you’re looking for a way to capture the essence of autumn in a jar, this Canned Apple Pie Filling recipe is just what you need. There’s something so comforting about the smell of spiced apples bubbling away on the stove. It takes me back to cozy family gatherings where pies were the star of the dessert table. This homemade filling not only tastes better than store-bought versions, but it also allows you to savor those sweet and tart apple flavors anytime you want.
This recipe is perfect for busy weeknights or family get-togethers when you want to impress without spending hours in the kitchen. Plus, it’s a fantastic way to use up those extra apples from your last trip to the orchard!
Why You’ll Love This Recipe
- Easy to make: With just a few straightforward steps, you’ll have delicious filling ready in no time.
- Family-friendly appeal: Everyone loves apple pie, and this filling is sure to please both kids and adults alike.
- Make-ahead convenience: Prepare a batch and store it for later use, making your future baking projects a breeze.
- Deliciously versatile: Use this filling not just for pies but also for crumbles, tarts, or even as a topping for pancakes!
- Wholesome ingredients: Made with simple fruits and spices, you can feel good about what you’re serving.

Ingredients You’ll Need
This recipe features simple, wholesome ingredients that come together beautifully. You’ll find everything you need right in your pantry or at your local grocery store. Here’s what you’ll need:
For the Filling
- 6 cups peeled (cored, and sliced apples (1/4-inch thick))
- 1 cup granulated sugar
- 3/4 cup water
- 2 tablespoons fresh lemon juice
- 1 teaspoon ground cinnamon
- 1/4 teaspoon ground nutmeg
- 1/8 teaspoon salt
- 1 tablespoon butter (optional)
Variations
One of the best things about this Canned Apple Pie Filling recipe is how flexible it is! You can easily tweak it to fit your taste buds or what you have on hand.
- Add more spices: If you’re a spice lover, consider adding cloves or allspice for an extra layer of flavor.
- Use different apples: Experiment with various apple varieties like Granny Smith for tartness or Honeycrisp for sweetness!
- Go nutty: Stir in some chopped nuts like walnuts or pecans for added texture and crunch.
- Sweeten naturally: Try substituting honey or maple syrup instead of granulated sugar for a different sweetness.
How to Make Canned Apple Pie Filling
Step 1: Prepare the Apples
Start by peeling, coring, and slicing your apples into 1/4-inch wedges. Toss them in fresh lemon juice right away; this helps prevent browning and keeps them looking fresh while you prepare everything else.
Step 2: Make the Syrup
In a large pot, mix together water, sugar, salt, cinnamon, and nutmeg. Heat over medium heat until the sugar dissolves completely. If you’d like that extra richness, add butter at this stage—it gives the syrup an amazing depth of flavor!
Step 3: Cook the Apples
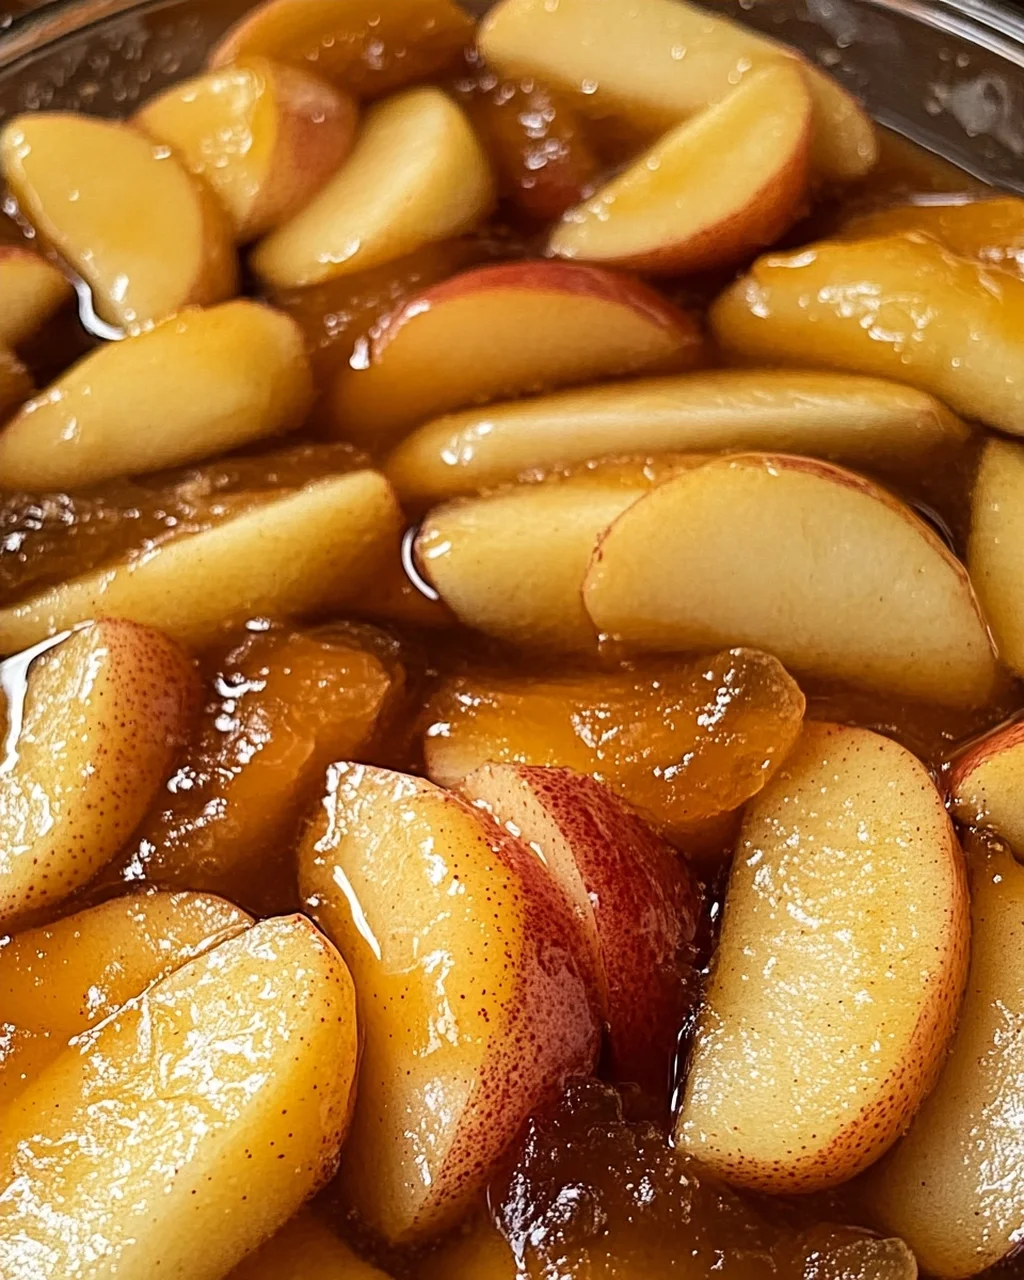
Now it’s time to add those beautiful apple slices to the pot! Bring everything to a gentle simmer before lowering the heat. Cover partially with a lid and let it cook for about 10-15 minutes. You want them tender but still holding their shape—this is crucial for that perfect pie texture!
Step 4: Thicken the Filling
After simmering, uncover and cook for another 5-10 minutes until the syrup thickens and becomes glossy. This step is essential because it gives your filling that rich consistency perfect for baking into pies.
Step 5: Jar It Up
Once you’re happy with how your apples look and taste, remove them from heat. Let everything cool slightly before packing it into sterilized jars—make sure to leave about 1/2 inch of headspace at the top. Seal them up tight and store them away!
With these steps completed, you’ll have jars full of delightful Canned Apple Pie Filling ready to brighten up any dessert occasion!
Pro Tips for Making Canned Apple Pie Filling
Creating the perfect canned apple pie filling is all about technique and attention to detail, so here are some helpful tips to ensure your filling turns out just right!
Choose the right apples: Use a mix of tart and sweet apples like Granny Smith and Honeycrisp for a balanced flavor profile that enhances your filling.
Don’t skip the lemon juice: A splash of lemon juice not only brightens the flavor but also helps keep your apples from browning, ensuring they look as good as they taste.
Control the thickness: If you prefer a thicker syrup, let the mixture simmer longer after adding the apples. Just be careful not to overcook them; you want them tender but still firm enough to hold their shape.
Sterilize your jars properly: Ensure your jars are sterilized by boiling them in water for 10 minutes. This step is crucial for preserving your filling and preventing spoilage.
Label and date your jars: When storing your canned apple pie filling, label each jar with the date it was made. This way, you can keep track of freshness and use older jars first.
How to Serve Canned Apple Pie Filling
The delightful possibilities of serving canned apple pie filling are endless! Whether you’re whipping up a quick dessert or elevating a special occasion treat, this versatile filling shines in various presentations.
Garnishes
- Whipped coconut cream: A dollop of whipped coconut cream provides a luscious, dairy-free topping that complements the spiced apple flavors beautifully.
- Chopped nuts: Sprinkling some toasted walnuts or pecans adds a delightful crunch and nutty flavor that contrasts wonderfully with the soft apples.
Side Dishes
- Vanilla ice cream: A scoop of creamy vanilla ice cream served alongside warm apple pie filling creates a classic dessert pairing that’s hard to resist.
- Shortbread cookies: These buttery cookies are perfect for dipping into apple filling or crumbling on top for added texture.
- Oatmeal pancakes: Serve warm apple pie filling over fluffy oatmeal pancakes for a deliciously unique breakfast treat that will impress family and friends.
- Cinnamon rolls: Drizzle some apple pie filling over freshly baked cinnamon rolls for an indulgent twist on a morning favorite.
With these serving suggestions, you’re sure to create memorable moments around the table using your homemade canned apple pie filling!
Make Ahead and Storage
This Canned Apple Pie Filling is perfect for meal prep! You can whip up a batch in no time, making it easy to add a delightful touch to your desserts throughout the season. Here’s how to best store and enjoy your delicious creation.
Storing Leftovers
- Keep your canned apple pie filling in the refrigerator for up to 2 weeks.
- Store in an airtight container to maintain freshness and flavor.
- If you notice any separation, give it a gentle stir before using.
Freezing
- For longer storage, freeze the filling for up to 6 months.
- Pack it in freezer-safe containers or bags, leaving some headspace for expansion.
- Label each container with the date so you can keep track of freshness.
Reheating
- Thaw frozen filling overnight in the refrigerator before use.
- Gently reheat on the stovetop over low heat, stirring occasionally until warmed through.
- If reheating from frozen, you may need to add a little water or apple juice to loosen the texture.
FAQs
Got questions about this Canned Apple Pie Filling? I’ve got answers! Here are some common queries that might help you out.
Can I use different types of apples for Canned Apple Pie Filling?
Absolutely! Different apple varieties will bring unique flavors and textures. Try using Granny Smith for tartness or Honeycrisp for a sweeter profile. Mixing varieties can also enhance the overall taste!
How long does Canned Apple Pie Filling last after opening?
Once opened, your canned apple pie filling should be consumed within 2 weeks if stored in the refrigerator. Make sure to keep it sealed tightly to maintain flavor and quality.
Can I use this Canned Apple Pie Filling for other desserts?
Yes! This versatile filling is not just for pies—it’s great on pancakes, in oatmeal, or as a topping for yogurt. Let your creativity shine!
What makes homemade Canned Apple Pie Filling better than store-bought?
Homemade versions allow you to control the ingredients and avoid preservatives. Plus, you’ll enjoy fresher flavors and better texture with distinct apple chunks—just like Grandma used to make!
Final Thoughts
I hope this Canned Apple Pie Filling recipe brings warmth and joy into your kitchen as you embrace those lovely autumn flavors. It’s not just about making pie; it’s about sharing sweet memories with loved ones around the table. Enjoy every moment of crafting this delightful treat, and don’t hesitate to get creative with how you use it. Happy baking!

Canned Apple Pie Filling
- Total Time: 45 minutes
- Yield: 8 servings 1x
Description
A jar of homemade Canned Apple Pie Filling transforms a simple afternoon into a celebration of autumn flavors with tender, spiced apple slices in a glossy syrup.
Ingredients
- 6 cups peeled, cored, and sliced apples (1/4-inch thick)
- 1 cup granulated sugar
- 3/4 cup water
- 2 tablespoons fresh lemon juice
- 1 teaspoon ground cinnamon
- 1/4 teaspoon ground nutmeg
- 1/8 teaspoon salt
- 1 tablespoon butter (optional)
Instructions
- Peel, core, and slice apples into 1/4-inch wedges. Toss immediately with lemon juice to prevent browning.
- In a large pot, combine water, sugar, salt, cinnamon, and nutmeg. Heat over medium until sugar dissolves. Add butter if using.
- Add apples to the pot. Bring to a gentle simmer, then reduce heat to low. Cover partially and cook for 10-15 minutes.
- Uncover and simmer for another 5-10 minutes until apples are tender and syrup is thick and glossy.
- Remove from heat. Cool slightly, then pack into sterilized jars, leaving 1/2 inch headspace. Seal and store.
- Prep Time: 20 minutes
- Cook Time: 25 minutes
Nutrition
- Serving Size: 1
Keywords: Store in the refrigerator for up to 2 weeks or freeze for up to 6 months. If the filling is too thick after cooling, stir in a little water or apple juice to loosen.