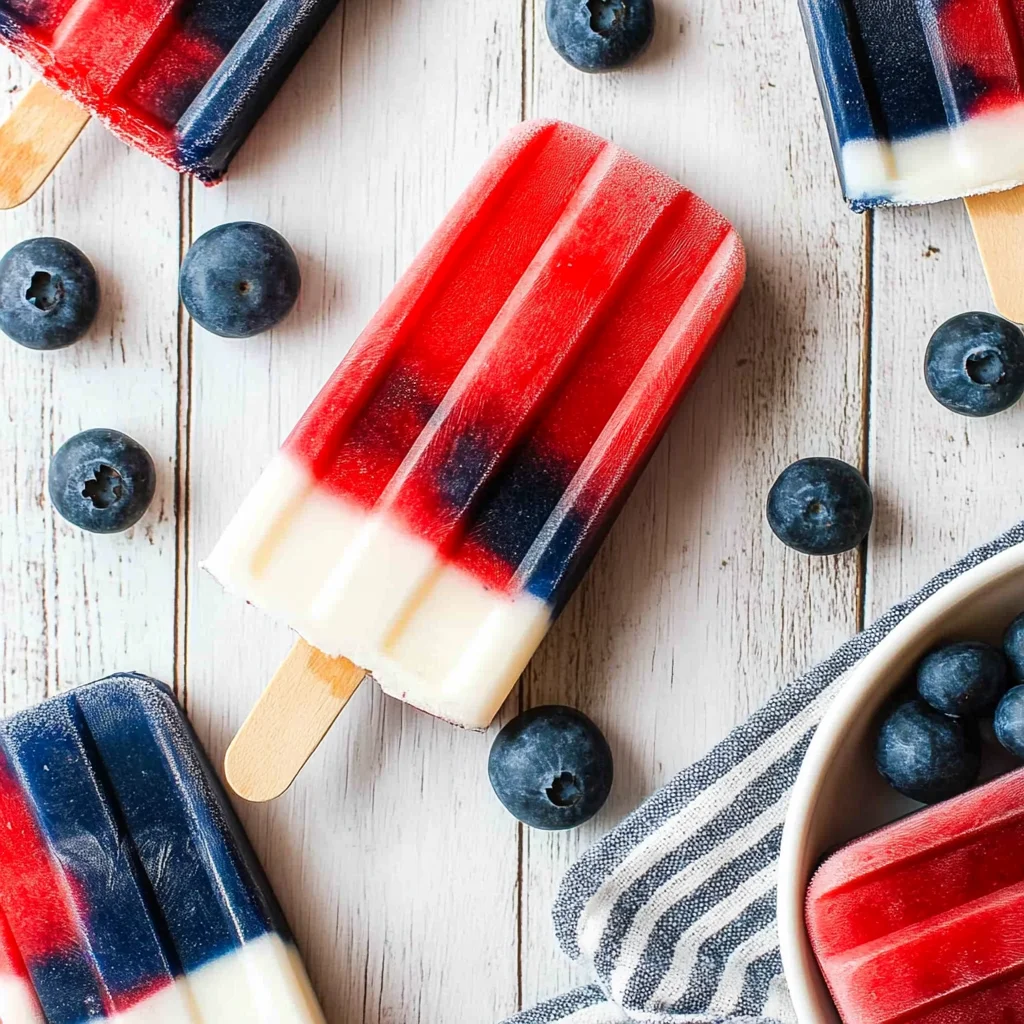
These vibrant Red White and Blue Popsicle Recipe are a delightful frozen treat for any summer occasion. Perfect for the Fourth of July or Memorial Day celebrations, these popsicles are not only visually stunning but also packed with fresh flavors from berries and creamy coconut milk. They are easy to prepare and will surely impress your guests, making them an ideal addition to your summer festivities.
Why You’ll Love This Recipe
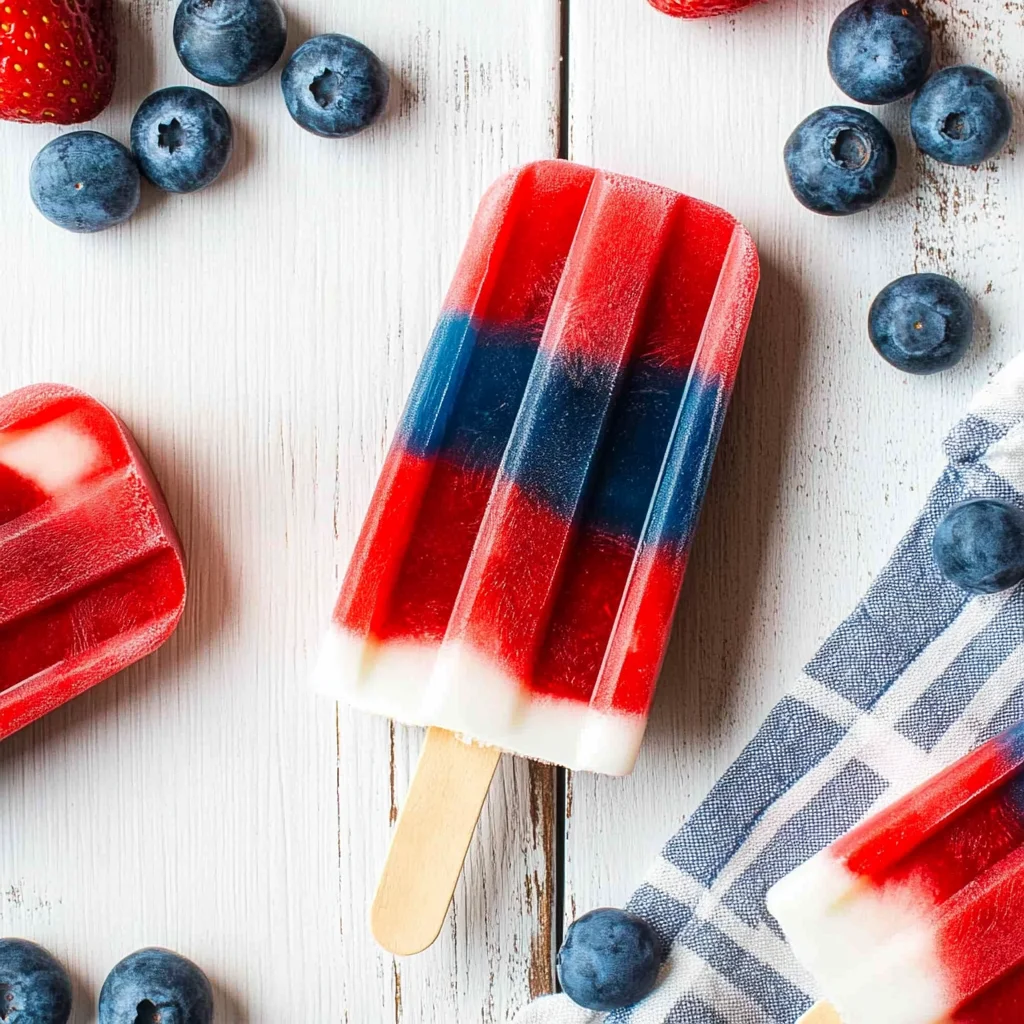
- Festive Appearance: The beautiful layers of red, white, and blue make these popsicles a showstopper at any gathering.
- Fresh Ingredients: Made with wholesome strawberries and blueberries, they offer a burst of fruity flavor in every bite.
- Dairy-Free Delight: Using coconut milk means these popsicles are suitable for dairy-free diets while still being creamy and delicious.
- Customizable Flavors: You can easily swap in different fruits or sweeteners to suit your taste preferences.
- Easy to Make: With just a few simple steps, you can whip up a batch in no time, perfect for those hot summer days.
Tools and Preparation
Before you begin making your Red White and Blue Popsicle Recipe, gather the necessary tools to ensure a smooth process.
Essential Tools and Equipment
- Blender
- Measuring cups
- Popsicle molds
- Measuring spoons
Importance of Each Tool
- Blender: This tool is essential for mixing the coconut milk and fruits until smooth, ensuring a creamy texture for the popsicles.
- Popsicle molds: These molds shape your popsicles perfectly, making them easy to remove once frozen.
Ingredients
These festive red, white, and blue popsicles are made with fresh berries and coconut milk and make the perfect frozen treat for summer!
For the Popsicles
- 1½ cans coconut milk
- 1 cup fresh strawberries
- ⅓ cup fresh blueberries
- 3 Tablespoons sugar

How to Make Red White and Blue Popsicle Recipe
Step 1: Prepare the Coconut Mixture
- Combine the coconut milk and sugar (or alternative sweetener) in a blender.
- Blend on medium speed for 15-20 seconds until mixed well.
- Divide the mixture into three equal parts (about 3/4 cup each) using measuring cups.
Step 2: Blend the Strawberry Layer
- Return one part of the coconut mixture to the blender.
- Add the fresh strawberries and blend until smooth.
- If desired, add a few drops of red food coloring for a deeper hue.
- Pour this mixture into a measuring cup and rinse out the blender container.
Step 3: Blend the Blueberry Layer
- Repeat the blending process with another part of the coconut mixture and the blueberries.
- Optionally add blue food coloring if you desire a more vibrant color.
- Pour the red strawberry mixture into popsicle molds, filling each about 1/3 full.
- Freeze for 30-45 minutes until firm while keeping the other two parts refrigerated.
Step 4: Assemble the Popsicles
- Pour in the remaining white coconut mixture over the frozen strawberry layer.
- Freeze again for another 30-45 minutes until firm.
- Finally, pour in the blueberry mixture on top of the white layer.
- Insert popsicle sticks and freeze for at least 6 hours or until completely solid before removing from molds.
Enjoy your homemade Red White and Blue Popsicle Recipe as a refreshing treat!
How to Serve Red White and Blue Popsicle Recipe
These festive red, white, and blue popsicles are visually stunning and delicious. They are perfect for summer gatherings, barbecues, or any celebration where you want a fun frozen treat.
On a Festive Platter
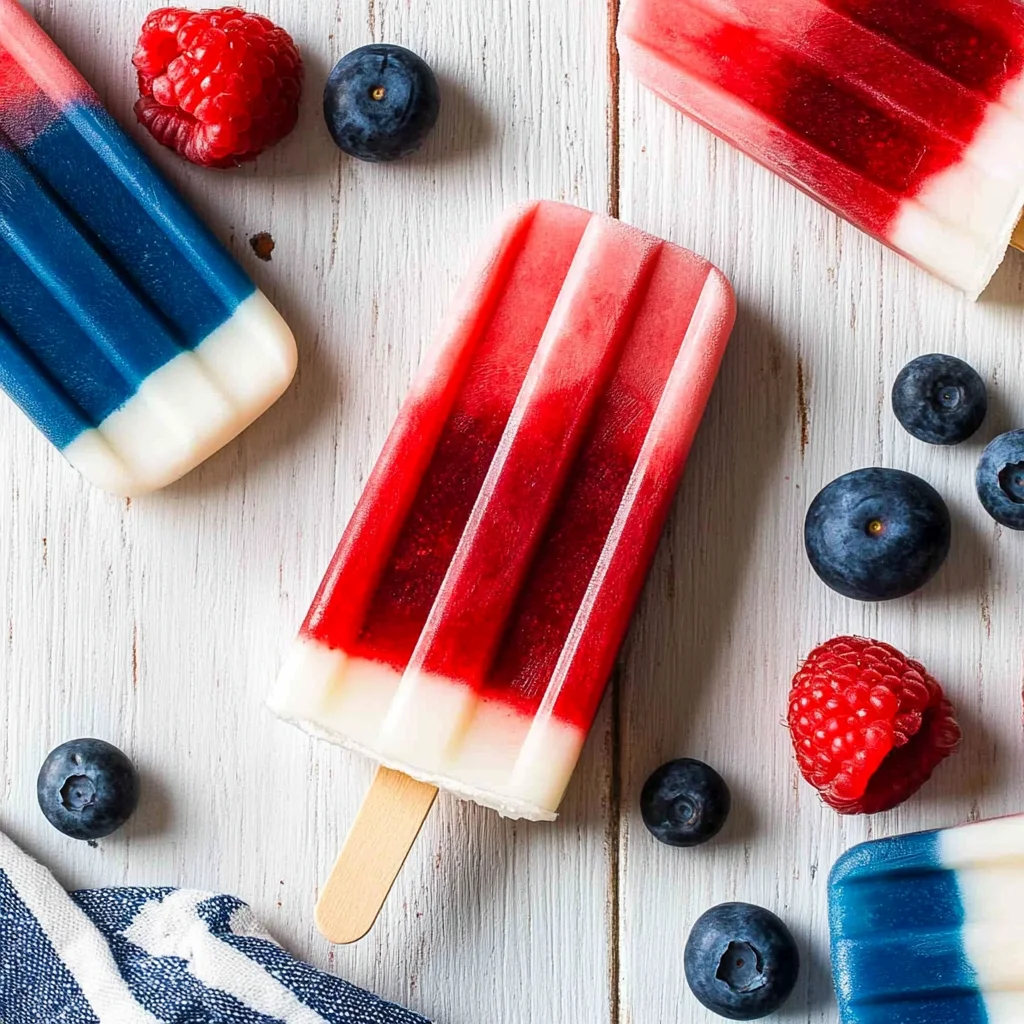
- Arrange the popsicles on a large platter for a colorful display. Add some fresh berries around them for an extra pop of color.
As Party Favors
- Wrap each popsicle in cellophane and tie with a ribbon. These make great take-home treats for guests at your Fourth of July or Memorial Day parties.
With Fresh Mint
- Serve the popsicles with sprigs of fresh mint. This adds a refreshing touch that complements the flavors beautifully.
In Goody Bags
- Include these popsicles in goody bags for kids. They will love the colorful treat, making it a hit at any event.
Accompanied by Whipped Cream
- Top each popsicle with a dollop of whipped cream for an indulgent twist. This makes them extra creamy and delightful.
How to Perfect Red White and Blue Popsicle Recipe
Creating the perfect red white and blue popsicles is all about technique and ingredients. Follow these tips to ensure they turn out beautifully every time.
- Use fresh ingredients: Fresh strawberries and blueberries enhance flavor and brightness in your popsicles.
- Adjust sweetness: Depending on your taste preference, you can modify the sugar amount. Taste as you blend!
- Blend thoroughly: Ensure that your fruit mixtures are blended until smooth for an even texture throughout the popsicle.
- Layer carefully: Pour each layer slowly into the molds to avoid mixing colors. Let each layer freeze before adding the next.
- Experiment with flavors: Consider adding other fruits like raspberries or kiwi for different flavors while maintaining the theme.
- Store properly: Keep the popsicles in an airtight container in the freezer to prevent freezer burn.
Best Side Dishes for Red White and Blue Popsicle Recipe
Pairing side dishes with your red white and blue popsicles can elevate your summer gathering. Here are some delicious options to consider.
- Grilled Corn Salad: A refreshing salad made with sweet grilled corn, tomatoes, and cilantro. Perfect alongside sweet desserts.
- Watermelon Feta Salad: This light salad combines juicy watermelon with feta cheese and mint for a flavorful bite.
- Caprese Skewers: Easy-to-make skewers with cherry tomatoes, basil, and mozzarella drizzled with balsamic glaze.
- Pasta Salad: A cold pasta salad featuring colorful veggies tossed in Italian dressing makes for a filling side.
- Deviled Eggs: Classic deviled eggs add protein to your spread and can be made festive with food coloring.
- Fruit Kabobs: Stack seasonal fruits on skewers for fun, bite-sized treats that complement your dessert beautifully.
- Potato Salad: A creamy potato salad pairs well with nearly any dish, making it an ideal barbecue side.
- Sliced Veggies & Dip: Crunchy vegetables served with hummus or ranch dressing provide a healthy contrast to sweet treats.
Common Mistakes to Avoid
Making the Red White and Blue Popsicle Recipe can be fun, but there are a few common mistakes that can affect your results.
- Not measuring ingredients accurately: Precision is key in any recipe. Make sure to use proper measuring cups for liquids and solids to get the right balance of flavors.
- Skipping the freezing time: Don’t rush the freezing process. Each layer needs enough time to set before adding the next one; otherwise, they may bleed into each other.
- Using overripe fruit: Overripe berries can lead to a mushy texture. Choose fresh, firm strawberries and blueberries for the best flavor and consistency.
- Ignoring dietary preferences: If you have guests with dietary restrictions, consider using alternative sweeteners or coconut cream for those who are dairy-free.
- Forgetting about food coloring: If you want more vibrant colors, don’t hesitate to add a few drops of food coloring. It enhances the visual appeal of your popsicles.
Storage & Reheating Instructions
Refrigerator Storage
- Store leftovers in an airtight container.
- They will last up to 3 days in the refrigerator before losing quality.
Freezing Red White and Blue Popsicle Recipe
- Once fully frozen, transfer popsicles to a freezer-safe bag.
- They can be stored for up to 2 months without losing flavor or texture.
Reheating Red White and Blue Popsicle Recipe
- Oven: Not applicable as these popsicles are enjoyed frozen.
- Microwave: Use this method carefully. Microwave on low for 10-15 seconds if you need to soften them slightly before serving.
- Stovetop: Not applicable; these popsicles are best enjoyed cold.
Frequently Asked Questions
How do I make the Red White and Blue Popsicle Recipe vegan?
You can substitute regular sugar with agave syrup or maple syrup to keep it vegan-friendly while maintaining sweetness.
What fruits can I use instead of strawberries and blueberries?
You can use raspberries for red layers or blackberries for blue ones. Feel free to experiment with other fruits that match your color theme!
How long do these popsicles take to freeze?
The entire freezing process takes about 6 hours, but each individual layer requires 30-45 minutes before adding the next one.
Can I make these popsicles ahead of time?
Yes! These popsicles can be made several days in advance. Just ensure they are well-wrapped in a freezer-safe container.
What should I serve with my Red White and Blue Popsicle Recipe?
These popsicles pair wonderfully with fresh fruit salads or whipped coconut cream for an extra treat!
Final Thoughts
The Red White and Blue Popsicle Recipe is not just a delightful summer treat; it’s also highly customizable. You can adjust fruit choices or sweeteners based on preferences, making it perfect for any occasion. Whether you’re celebrating the Fourth of July or simply enjoying a sunny day, these popsicles offer a refreshing burst of flavor that everyone will love. Try making them today!
Red White and Blue Popsicle Recipe
- Total Time: 2 minute
- Yield: Makes about 6 servings 1x
Description
Brighten up your summer celebrations with these delightful Red White and Blue Popsicles, the perfect frozen treat for patriotic occasions like the Fourth of July and Memorial Day. Featuring vibrant layers of fresh strawberries, creamy coconut milk, and blueberries, these popsicles are not only visually stunning but also bursting with flavor. They’re easy to make and can be customized to suit any taste. Ideal for impressing guests at your summer gatherings or simply enjoying a cool snack on a hot day, these popsicles are sure to be a hit with everyone.
Ingredients
- 1½ cans coconut milk
- 1 cup fresh strawberries
- ⅓ cup fresh blueberries
- 3 tablespoons sugar
Instructions
- In a blender, combine coconut milk and sugar. Blend until smooth.
- Divide the mixture into three equal parts.
- For the strawberry layer: Blend one part of the coconut mixture with strawberries until smooth. Pour into popsicle molds to fill 1/3 full and freeze for 30-45 minutes.
- For the blueberry layer: Blend another part with blueberries until smooth. Pour over the frozen strawberry layer, freeze again for another 30-45 minutes.
- Finally, pour in the remaining coconut mixture to top it off. Insert popsicle sticks and freeze for at least 6 hours or until solid.
- Prep Time: 15 minutes
- Cook Time: Approximately 6 hours
- Category: Dessert
- Method: Freezing
- Cuisine: American
Nutrition
- Serving Size: 1 popsicle (70g)
- Calories: 102
- Sugar: 9g
- Sodium: 8mg
- Fat: 5g
- Saturated Fat: 4g
- Unsaturated Fat: 1g
- Trans Fat: 0g
- Carbohydrates: 12g
- Fiber: 1g
- Protein: 1g
- Cholesterol: 0mg
Keywords: Use fresh ingredients for optimal flavor. Feel free to substitute fruits based on availability or preference. Ensure each layer is completely frozen before adding the next to maintain distinct colors.