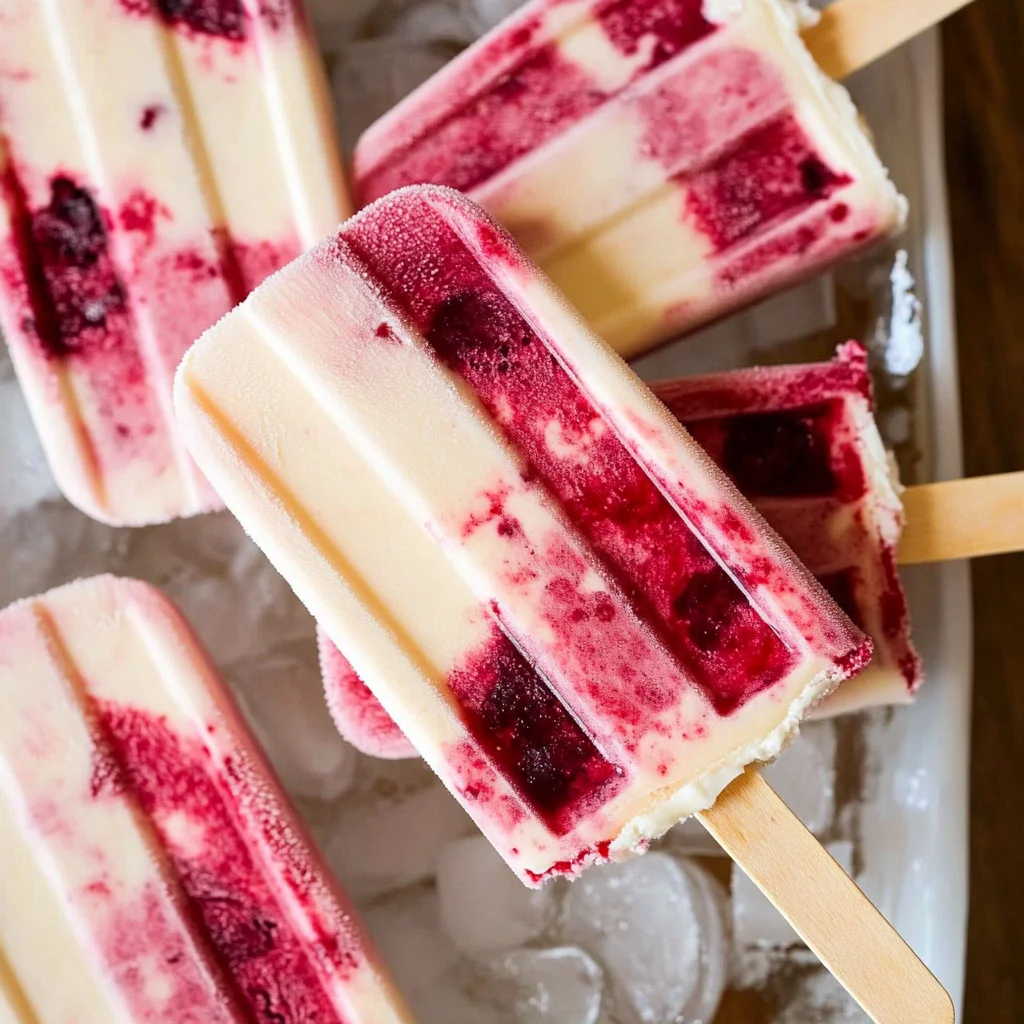
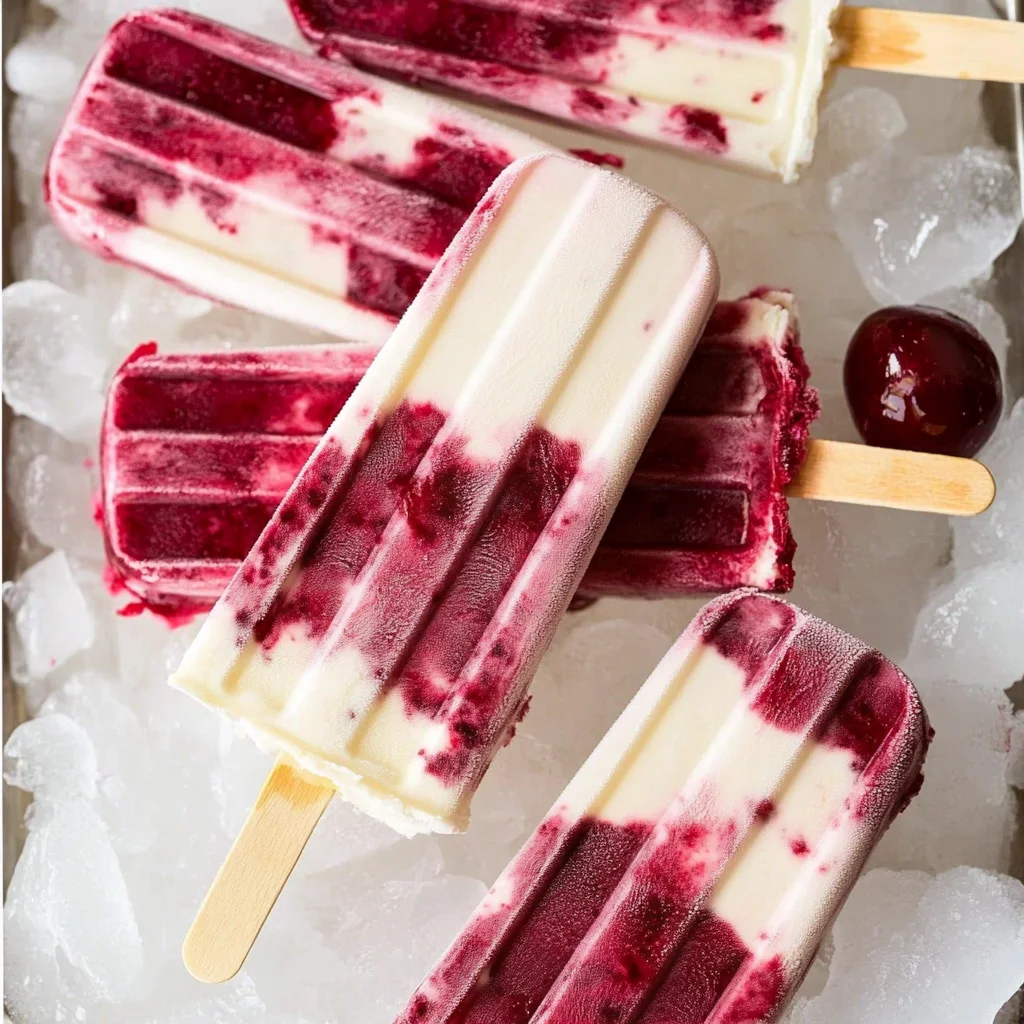
These Cherry Creamsicles are a delightful way to beat the heat during summer. With their creamy texture and vibrant cherry flavor, they’re perfect for backyard barbecues, family gatherings, or a simple afternoon treat. Not only do they bring joy to kids and adults alike, but they also use wholesome ingredients that can be easily adapted for different dietary needs.
Why You’ll Love This Recipe
- Refreshing and Healthy: Made with fresh cherries, these creamsicles are a guilt-free indulgence that satisfy your sweet tooth.
- Easy to Make: With just a few simple steps, you can whip up these delicious treats in no time.
- Dairy-Free Option: This recipe can easily be modified to suit dairy-free diets without sacrificing taste.
- Customizable Flavor: Adjust the sweetness or mix in other fruits for a unique twist on this classic dessert.
- Perfect for Any Occasion: Whether it’s a hot day or a special event, these creamsicles are sure to impress everyone.
Tools and Preparation
To create your Cherry Creamsicles, having the right tools is essential. Here’s what you’ll need to make the process smooth and enjoyable.
Essential Tools and Equipment
- Blender
- Popsicle molds
- Popsicle sticks
Importance of Each Tool
- Blender: A high-quality blender ensures that all ingredients are smoothly combined, giving your creamsicles a luscious texture.
- Popsicle molds: These molds allow you to create perfectly shaped treats that look as good as they taste.
Ingredients
These refreshing Cherry Creamsicles are a perfect summer treat, blending the natural sweetness of cherries with creamy vanilla and a touch of honey. Made with wholesome ingredients and easy to adapt for dairy-free diets, they’re a delightful frozen dessert for both kids and adults.
For the Base
- 10 oz. (about 2 cups) pitted fresh or thawed frozen organic cherries
- ¼ cup coconut water or filtered water
- 1 cup raw cream or organic whipping cream (see Notes for dairy-free option)
- 1 teaspoon organic vanilla extract
- 3–4 tablespoons raw light-colored honey (e.g., local raw clover honey)
For Garnish
- 2 tablespoons fresh parsley, finely chopped

How to Make Cherry Creamsicles
Step 1: Blend the Cherries
Add the cherries and coconut water (or filtered water) to a blender. Blend until smooth.
Step 2: Combine Ingredients
Add the cream, vanilla extract, and honey to the blender. Blend again until fully combined and smooth.
Step 3: Adjust Sweetness
Taste the mixture and adjust sweetness by adding more honey if desired.
Step 4: Fill Molds
Pour the mixture into popsicle molds. Leave a little room at the top to allow for expansion when freezing.
Step 5: Freeze
Insert popsicle sticks into each mold. Freeze for 4–6 hours or until fully solid.
Step 6: Serve Your Treats
To remove your Cherry Creamsicles from the molds, run warm water over the outside of the molds for a few seconds. Gently pull out the creamsicles and enjoy!
How to Serve Cherry Creamsicles
Cherry Creamsicles are a delightful treat that can be enjoyed in various ways. Whether you’re hosting a summer gathering or just looking for a refreshing snack, these creamsicles can be served creatively to impress your family and friends.
As a Snack
- On a Hot Day: Perfect for cooling down on a warm afternoon, these creamsicles are great for kids and adults alike.
- After School Treat: A nutritious option to satisfy hunger after school; kids will love the sweet cherry flavor.
At Parties
- Dessert Table Feature: Arrange them on a platter with colorful fruits for a vibrant dessert display.
- Themed Celebrations: Tie them into seasonal themes, like serving them at a summer barbecue or pool party.
With Toppings
- Chopped Nuts: Sprinkle crushed nuts on top for added crunch and texture.
- Chocolate Drizzle: For an indulgent twist, drizzle melted chocolate over the creamsicles just before serving.
How to Perfect Cherry Creamsicles
Creating the perfect Cherry Creamsicles requires some attention to detail. Here are some tips to ensure your popsicles turn out delicious every time.
- Choose Fresh Cherries: Using ripe, fresh cherries enhances the natural sweetness and flavor of your creamsicles.
- Adjust Sweetness: Start with less honey and taste the mixture before adding more; everyone has different sweetness preferences.
- Blend Thoroughly: Make sure to blend until completely smooth for a creamy texture without chunks.
- Use Quality Cream: Opt for organic whipping cream or high-quality coconut milk for the best flavor profile.
- Leave Room in Molds: Don’t fill molds to the brim; leaving space allows for expansion as they freeze.
- Run Warm Water on Molds: This simple trick makes it easier to remove the creamsicles once they’re frozen.
Best Side Dishes for Cherry Creamsicles
Cherry Creamsicles pair wonderfully with various side dishes that complement their fruity flavors. Consider these options when planning your next meal or snack spread.
- Fresh Fruit Salad: A mix of seasonal fruits adds freshness and balances sweetness.
- Yogurt Parfaits: Layer yogurt with granola and fresh cherries for a nutritious side.
- Savory Cheese Platter: Pairing cheeses like brie or goat cheese provides a savory contrast to the sweet popsicles.
- Grilled Veggies: Lightly charred vegetables create a tasty side that enhances outdoor dining experiences.
- Crisp Green Salad: A light salad with vinaigrette offers a refreshing complement to the rich creaminess of the popsicles.
- Nut Butter Dipped Apples: Slices of apple with almond butter make for an easy, crunchy side that pairs well with desserts.
Common Mistakes to Avoid
Making Cherry Creamsicles can be a fun and rewarding experience, but it’s easy to run into a few common pitfalls. Here are some mistakes to watch out for:
- Using unripe cherries: Unripe cherries can lead to a less sweet creamsicle. Always choose ripe, sweet cherries for the best flavor.
- Skipping the blending step: Failing to blend the mixture thoroughly can result in an uneven texture. Blend until completely smooth for a creamy finish.
- Overfilling the molds: If you fill the molds to the brim, they may overflow as they freeze. Leave a little space at the top for expansion.
- Not adjusting sweetness: Underestimating your taste preference may leave your creamsicles bland. Taste the mixture and add more honey if needed before freezing.
- Neglecting dairy-free options: If you’re catering to dietary restrictions, don’t forget that you can substitute cream with coconut milk or plant-based alternatives.
Storage & Reheating Instructions
Refrigerator Storage
- Store any leftovers in an airtight container.
- They will last in the refrigerator for up to 2 days.
- Ensure they are well-sealed to prevent absorbing other flavors.
Freezing Cherry Creamsicles
- Store in popsicle molds or transfer them to an airtight freezer-safe container.
- They can be frozen for up to 3 months without losing quality.
- Label containers with dates for easy tracking.
Reheating Cherry Creamsicles
- Oven: Preheat your oven to low heat. Place creamsicles on a baking sheet for a few minutes until slightly softened.
- Microwave: Use a microwave-safe plate; heat on low power for short intervals (10-15 seconds) until just soft enough to remove from molds.
- Stovetop: Place warm water in a bowl and dip the molds briefly until creamsicles start to loosen.
Frequently Asked Questions
Can I use frozen cherries for Cherry Creamsicles?
Yes, frozen cherries work well! Just make sure to thaw them before blending for the best consistency.
What can I substitute for honey in Cherry Creamsicles?
You can use maple syrup or agave nectar as alternatives if you prefer a vegan option or don’t have honey on hand.
How do I make these Cherry Creamsicles dairy-free?
Simply replace raw cream or whipping cream with full-fat canned coconut milk or any plant-based cream alternative of your choice.
How long do Cherry Creamsicles take to freeze?
They typically require about 4–6 hours in the freezer until fully solid.
Final Thoughts
These Cherry Creamsicles are not only refreshing but also adaptable, making them perfect for various dietary needs. With their vibrant flavor and creamy texture, they are sure to please both kids and adults alike. Feel free to customize with different fruits or sweeteners according to your taste preferences! Try making your own batch today!
Cherry Creamsicles
- Total Time: 50 minute
- Yield: Makes approximately 6 servings (creamsicles) 1x
Description
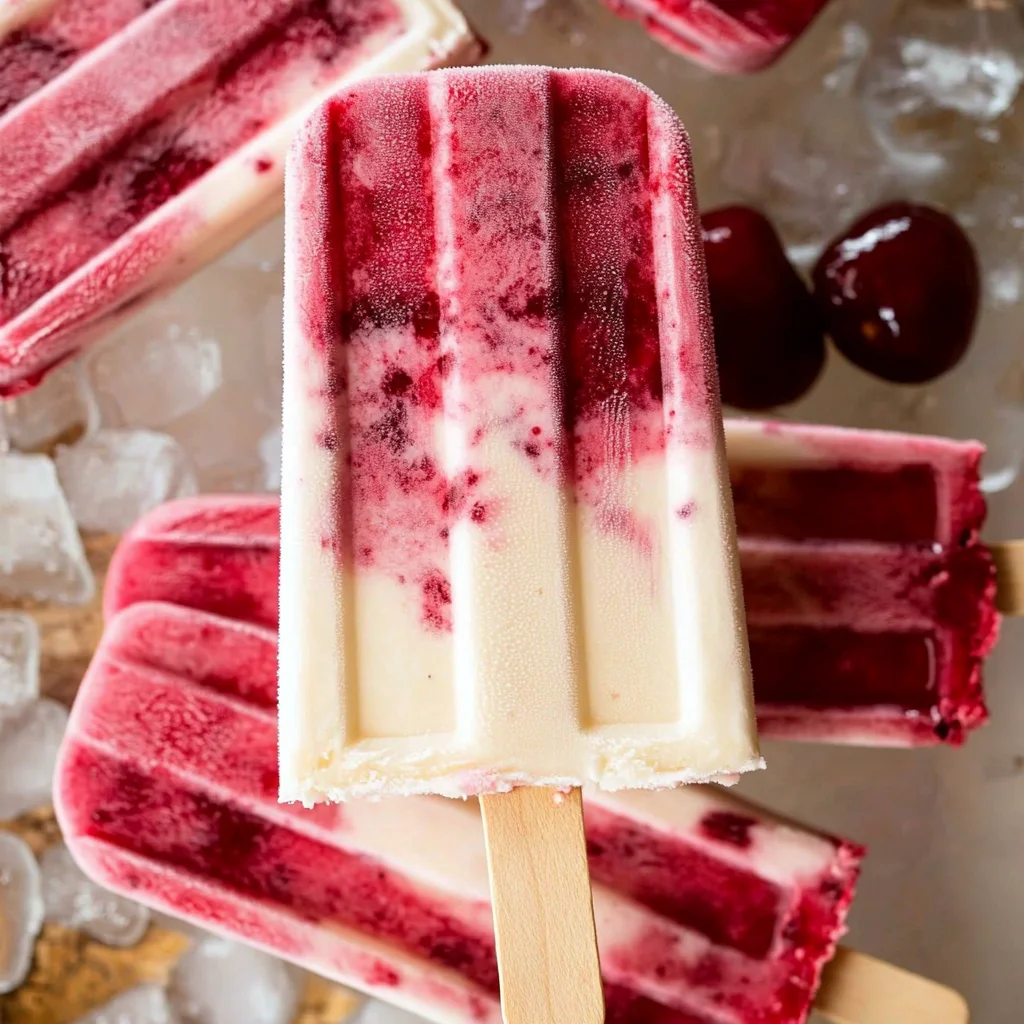
These Cherry Creamsicles are the ultimate summer treat, blending fresh cherries with a creamy base for a refreshing dessert that everyone loves. Perfect for hot afternoons, backyard barbecues, or family gatherings, these popsicles are not only delicious but also made with wholesome ingredients. Whether you’re looking to satisfy your sweet tooth guilt-free or cater to dietary needs with dairy-free options, these creamsicles deliver! Their vibrant cherry flavor and creamy texture will impress both kids and adults alike. Plus, they can easily be customized with various fruits or sweeteners, making them a versatile addition to any summer menu.
Ingredients
- 10 oz fresh or thawed frozen organic cherries
- ¼ cup coconut water or filtered water
- 1 cup raw cream or organic whipping cream (or dairy-free option)
- 1 teaspoon organic vanilla extract
- 3–4 tablespoons raw light-colored honey
Instructions
- Blend cherries and coconut water until smooth.
- Add cream, vanilla extract, and honey; blend until fully combined.
- Taste and adjust sweetness if necessary.
- Pour mixture into popsicle molds, leaving some space at the top.
- Insert sticks and freeze for 4–6 hours until solid.
- To serve, run warm water over molds briefly to release creamsicles.
- Prep Time: 10 minutes
- Cook Time: None
- Category: Dessert
- Method: Freezing
- Cuisine: American
Nutrition
- Serving Size: 1 serving
- Calories: 110
- Sugar: 9g
- Sodium: 15mg
- Fat: 6g
- Saturated Fat: 5g
- Unsaturated Fat: 1g
- Trans Fat: 0g
- Carbohydrates: 13g
- Fiber: 1g
- Protein: 2g
- Cholesterol: 18mg
Keywords: For a vegan version, substitute cream with full-fat coconut milk. Experiment with additional fruits like bananas or berries for unique flavors.