Creamy and thick, this Banana Milkshake is the ultimate treat for any occasion! Whether you’re enjoying a sunny afternoon or hosting a casual get-together, this banana shake is sure to impress. With its rich flavors and delightful texture, it’s perfect for both kids and adults alike. Plus, it’s incredibly easy to make, requiring just a handful of ingredients. Get ready to indulge in the best banana shake ever!
Why You’ll Love This Recipe
- Quick and Easy: With only a few simple steps, you can whip up this delicious milkshake in no time.
- Creamy Texture: The combination of ripe bananas and ice cream creates a luxuriously smooth drink that’s hard to resist.
- Versatile Flavor: Customize your banana milkshake by adding extras like chocolate syrup or peanut butter for a unique twist.
- Perfect for Any Occasion: Whether it’s a summer party or a cozy night in, this shake fits right in.
- Health Benefits: Bananas provide essential nutrients while keeping your sweet cravings satisfied.
Tools and Preparation
Making this banana milkshake requires just a few essential tools. Having the right equipment will ensure that your shake turns out perfectly every time.
Essential Tools and Equipment
- Blender
- Measuring spoons
- Knife
- Cutting board
- Glasses for serving
Importance of Each Tool
- Blender: The key to achieving that smooth and creamy consistency for your banana milkshake.
- Measuring spoons: Ensures that you add the perfect amount of vanilla extract and cinnamon for balanced flavor.
Ingredients
Creamy and thick, this is the best banana shake ever!
For the Shake
- 1 large ripe banana
- 1 cup milk
- 1/4 teaspoon vanilla extract
- 1/8 teaspoon (a dash) of ground cinnamon
- 1 teaspoon lemon juice
- 3 giant scoops of vanilla ice cream
For Garnish
- Whipped cream
- Dried banana chips

How to Make Banana Milkshake
Step 1: Prepare the Banana
Slice the banana into 1-inch pieces. Place these slices at the bottom of your blender.
Step 2: Add Ingredients
Pour in the milk, vanilla extract, ground cinnamon, and lemon juice over the banana slices.
Step 3: Blend Until Smooth
Add the ice cream on top. Blend all ingredients together until you achieve a very smooth and creamy texture. If the mixture is too cold and thickens up, add small splashes of milk to help it puree.
Step 4: Serve Your Shake
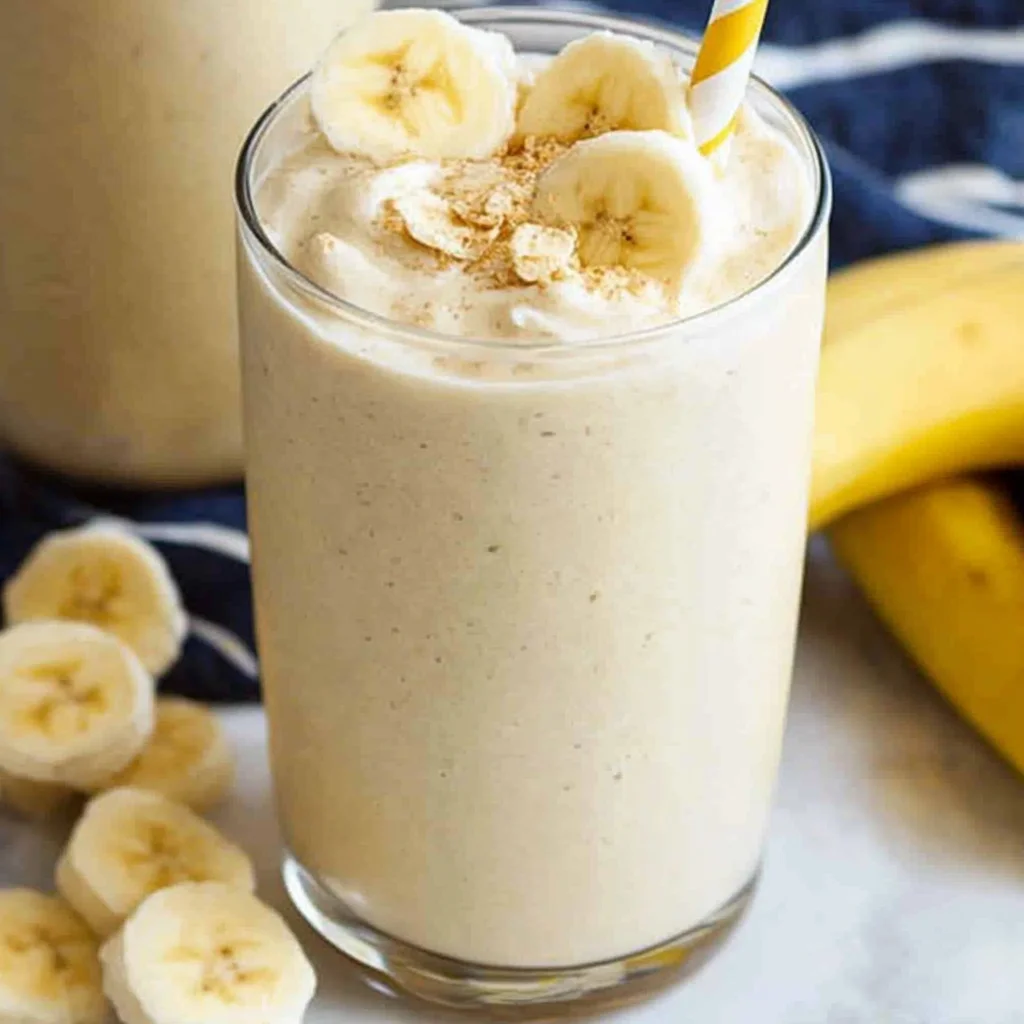
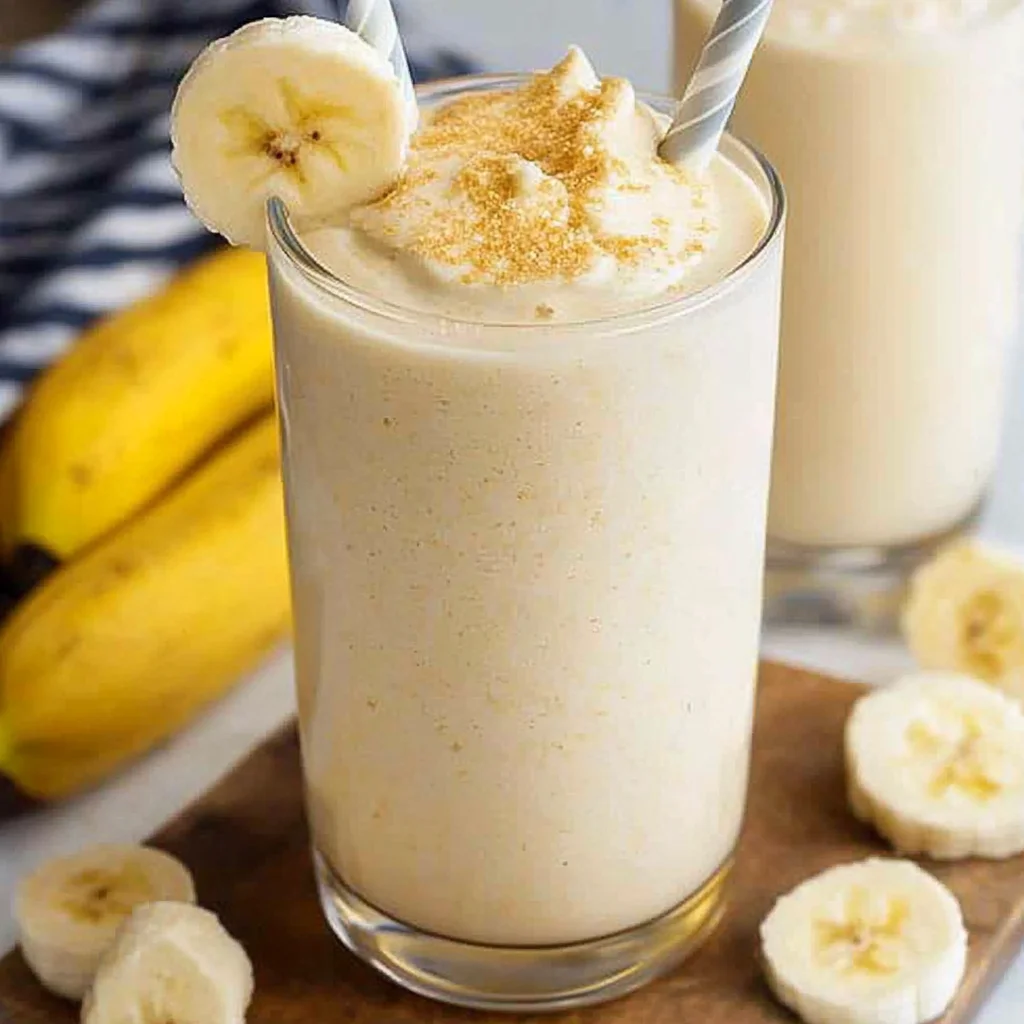
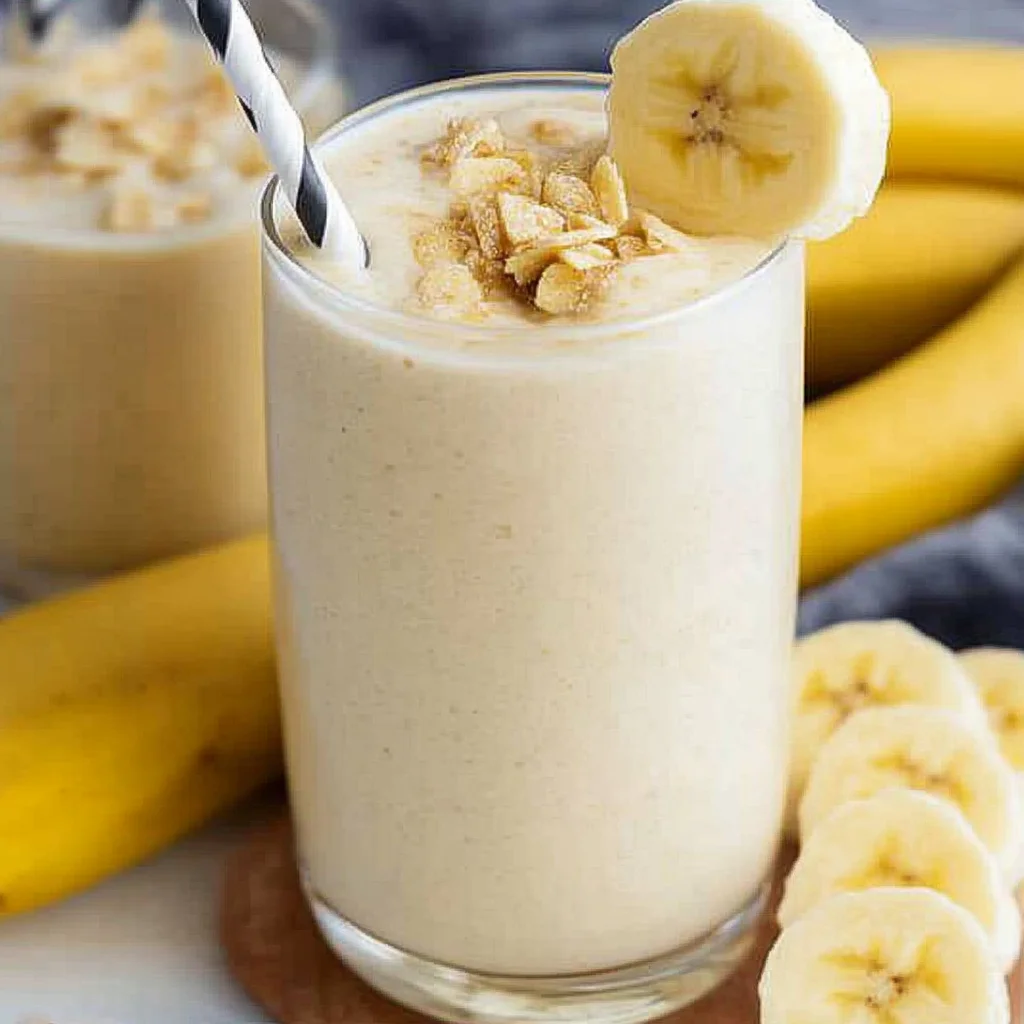
Divide the milkshake equally between two glasses. Top with whipped cream and garnish with dried banana chips before serving.
Enjoy your delicious homemade Banana Milkshake!
How to Serve Banana Milkshake
Serving a banana milkshake can be a delightful experience. This creamy treat is perfect for any occasion, whether it’s a hot summer day or a cozy winter evening. Here are some creative ways to serve your delicious banana milkshake.
Classic Presentation
- Use tall glasses to showcase the creamy texture and vibrant color of the milkshake.
- Top with generous swirls of whipped cream for an indulgent look.
Fun Toppings
- Dried Banana Chips: Add a crunchy texture on top for an enjoyable contrast.
- Chocolate Syrup Drizzle: A drizzle of chocolate syrup adds sweetness and visual appeal.
Parfait Style
- Layer the banana milkshake with granola and sliced bananas in a clear glass for a fun parfait.
- This not only looks beautiful but also adds extra flavor and crunch.
Milkshake Floats
- Add a scoop of vanilla ice cream on top of the milkshake for an extra creamy treat.
- Serve it with a straw and spoon for easy enjoyment.
Party Pitcher
- Prepare a large batch in a blender and transfer it to a pitcher for serving at parties.
- Guests can serve themselves, making it perfect for gatherings.
How to Perfect Banana Milkshake
Creating the ultimate banana milkshake requires attention to detail. Here are some tips to ensure your shake is truly exceptional.
- Use Ripe Bananas: The riper the banana, the sweeter and more flavorful your shake will be.
- Choose Full-Fat Milk: For an ultra-creamy texture, opt for whole milk instead of skim or low-fat options.
- Blend Thoroughly: Ensure all ingredients are well blended until smooth; this avoids any banana chunks.
- Chill Your Glasses: Place your serving glasses in the freezer before pouring in the shake; this keeps it cold longer.
- Experiment with Flavors: Try adding peanut butter or cocoa powder for different flavor profiles.
- Adjust Sweetness: Taste your shake before serving; add honey or sugar if you prefer it sweeter.
Best Side Dishes for Banana Milkshake
Pairing side dishes with your banana milkshake can elevate your snack or meal. Here are some tasty ideas that complement this creamy drink perfectly.
- Peanut Butter Toast: A slice of whole-grain toast spread with peanut butter offers protein and pairs nicely with the shake’s sweetness.
- Fruit Salad: A mix of fresh fruits adds brightness and balances out the richness of the milkshake.
- Chocolate Chip Cookies: These classic cookies provide a sweet crunch that harmonizes wonderfully with your drink.
- Granola Bars: For a quick bite, granola bars add fiber and energy without overpowering the flavors of the shake.
- Mini Pancakes: Serve small pancakes drizzled with maple syrup as a delightful side that complements the banana flavor.
- Cheese Platter: Include mild cheeses like mozzarella or cream cheese for a savory contrast to the sweet shake.
Common Mistakes to Avoid
Making a banana milkshake seems easy, but there are a few common errors that can ruin your drink. Here’s how to avoid them.
- Using unripe bananas: Unripe bananas lack the sweetness and creaminess that ripe bananas provide. Always choose large, ripe bananas for the best flavor.
- Over-blending the mixture: Blending too long can introduce air and make your banana milkshake frothy instead of thick. Blend just until smooth and creamy.
- Skipping the lemon juice: Neglecting lemon juice can lead to browning of the bananas in your shake. A dash of lemon juice keeps it fresh and vibrant.
- Adding too much ice cream: While it’s tempting to add more ice cream for extra thickness, too much can overpower the banana flavor. Stick to the recommended amount for balance.
- Using low-fat milk: Using low-fat or non-dairy alternatives may alter the creamy texture. Whole milk gives your banana milkshake its rich consistency.
Storage & Reheating Instructions
Refrigerator Storage
- Duration: Store your banana milkshake in the fridge for up to 24 hours.
- Containers: Use an airtight container to keep it fresh and prevent browning.
Freezing Banana Milkshake
- Duration: You can freeze banana milkshake for up to 2 months.
- Containers: Use freezer-safe containers or zip-top bags, leaving some space for expansion.
Reheating Banana Milkshake
- Oven: Not recommended as it will change the texture significantly.
- Microwave: Warm in short bursts (10-15 seconds) on low power, stirring in between.
- Stovetop: Heat gently over low heat, stirring constantly until warm; do not boil.
Frequently Asked Questions
Can I make a banana milkshake with almond milk?
Yes, you can use almond milk instead of regular milk for a dairy-free option. However, this may slightly change the texture and flavor.
What can I add for extra flavor in my banana milkshake?
You can enhance your banana milkshake with ingredients like peanut butter, chocolate syrup, or even protein powder for added nutrition.
How do I make a vegan banana milkshake?
To make a vegan banana milkshake, substitute regular ice cream with dairy-free ice cream and use plant-based milk like almond or coconut.
Is this banana milkshake recipe healthy?
While this banana milkshake is indulgent, it provides vitamins from bananas and calcium from milk. Moderation is key!
Final Thoughts
This creamy and thick banana milkshake is truly one of the best treats you can whip up in minutes. Its versatility allows you to customize it with various flavors or toppings based on your preference. Whether enjoyed as a refreshing drink or a dessert, this recipe is sure to please everyone. Give it a try and explore your own favorite variations!

Banana Milkshake
- Total Time: 10 minutes
- Yield: Serves 2
Description
Indulge in the ultimate Banana Milkshake that is creamy, thick, and bursting with flavor! Perfect for sunny afternoons or casual get-togethers, this delightful shake appeals to both kids and adults alike. With just a handful of ingredients, you can whip up this delicious treat in no time. The combination of ripe bananas and rich vanilla ice cream creates a luxuriously smooth drink that’s hard to resist. Customize it with fun add-ins like chocolate syrup or peanut butter for an extra twist. Whether served at a party or enjoyed on your own, this banana milkshake is sure to impress!
Ingredients
- 1 large ripe banana
- 1 cup whole milk
- 1/4 teaspoon vanilla extract
- 1/8 teaspoon ground cinnamon (a dash)
- 1 teaspoon lemon juice
- 3 giant scoops of vanilla ice cream
Instructions
- Slice the banana into 1-inch pieces and place them in a blender.
- Add the milk, vanilla extract, ground cinnamon, and lemon juice over the banana slices.
- Top with ice cream and blend until smooth and creamy. If it’s too thick, add splashes of milk to adjust consistency.
- Pour into glasses, top with whipped cream and garnish with dried banana chips.
- Prep Time: 10 minutes
- Cook Time: 0 minutes
- Category: Dessert
- Method: Blending
- Cuisine: American
Nutrition
- Serving Size: 1 glass (approximately 300g)
- Calories: 450
- Sugar: 55g
- Sodium: 150mg
- Fat: 20g
- Saturated Fat: 12g
- Unsaturated Fat: 8g
- Trans Fat: 0g
- Carbohydrates: 62g
- Fiber: 2g
- Protein: 7g
- Cholesterol: 80mg
Keywords: Use ripe bananas for maximum sweetness and flavor. For a vegan option, swap regular ice cream with dairy-free alternatives and use plant-based milk. Chill serving glasses before pouring to keep your shake cold longer.