
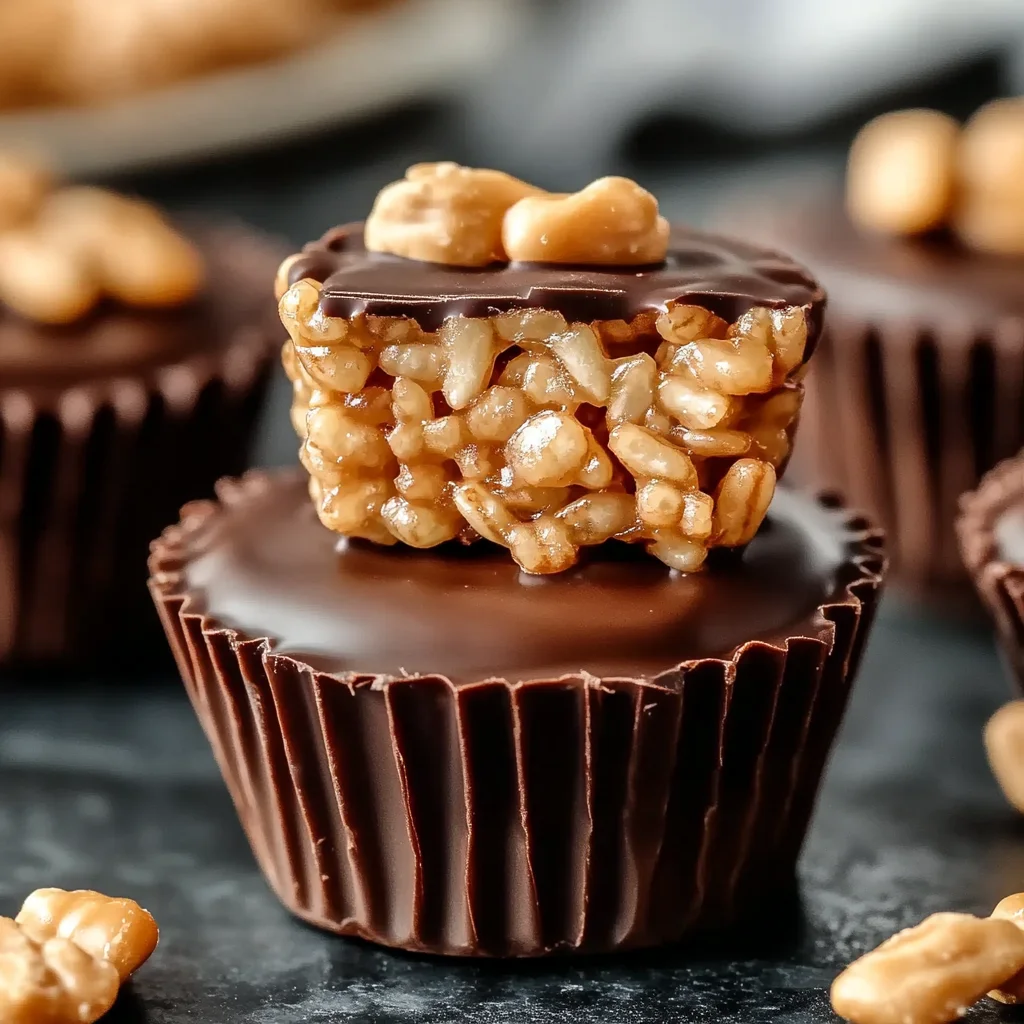
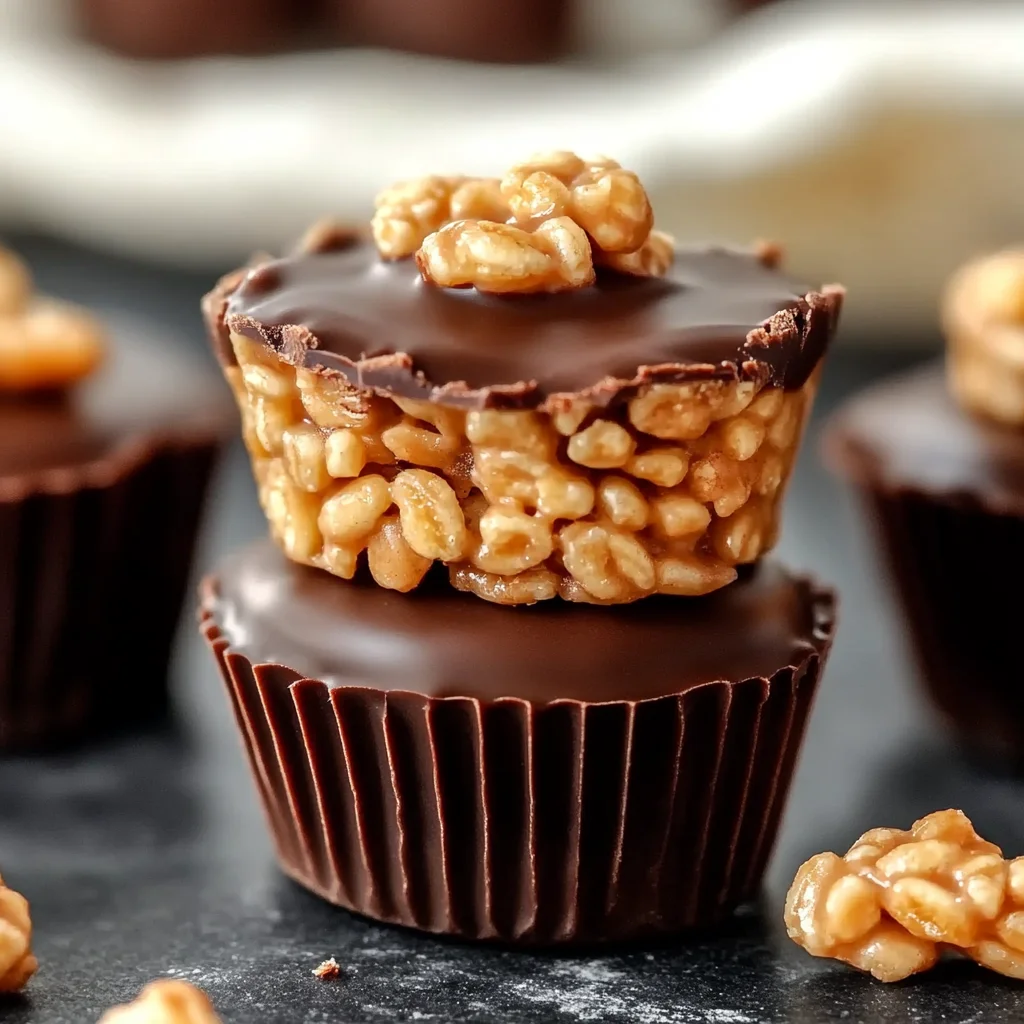
Quick, easy, and irresistibly delicious, these no-bake Chocolate Peanut Butter Rice Krispie Cups are the ultimate treat! The perfect balance of creamy peanut butter, rich chocolate, and crispy Rice Krispies creates a snack everyone will adore. Whether for parties, family gatherings, or a sweet pick-me-up, these cups are guaranteed to satisfy your cravings!
Why You’ll Love This Recipe
- Quick Preparation: With just 10 minutes of prep time, you can whip up these delightful treats in no time.
- No-Bake Ease: No oven required! Simply melt and mix for a hassle-free experience.
- Irresistible Flavor: The combination of chocolate and peanut butter is a classic that never disappoints.
- Perfect for Sharing: This recipe yields 20 cups, making it great for parties or gatherings.
- Customizable: Feel free to add toppings like crushed nuts or drizzle extra chocolate for added flair.
Tools and Preparation
Before diving into the ingredients, gather your tools to ensure a smooth cooking process.
Essential Tools and Equipment
- Muffin tin
- Paper liners
- Medium saucepan
- Mixing bowl
- Spoon or spatula
- Microwave-safe bowl
Importance of Each Tool
- Muffin tin: Essential for shaping your rice krispie cups into perfect portions.
- Medium saucepan: Ideal for melting butter and marshmallows evenly without burning.
- Mixing bowl: Provides ample space to combine all ingredients thoroughly.
Ingredients
For the Base
- 3 cups Rice Krispies cereal
- 1 cup creamy peanut butter
- 1/2 cup unsalted butter
- 1 cup mini marshmallows
For the Topping
- 1 cup chocolate chips
- 1/2 tsp vanilla extract (optional)
- Pinch of sea salt (optional)

How to Make Chocolate Peanut Butter Rice Krispie Cups
Step 1: Melt the Base
In a medium saucepan over low heat, melt the butter and mini marshmallows while stirring consistently until smooth.
Step 2: Add Peanut Butter
Stir in the creamy peanut butter and vanilla extract (if using) until fully combined and creamy.
Step 3: Mix with Cereal
Pour the Rice Krispies into a large bowl. Add the peanut butter mixture and gently fold until all the cereal is coated evenly.
Step 4: Shape the Cups
Line a muffin tin with paper liners. Spoon the mixture evenly into each cup and press down gently to form a flat surface.
Step 5: Add Chocolate Layer
Melt chocolate chips in a microwave-safe bowl using 20-second intervals. Stir between each interval until completely melted. Spoon melted chocolate over each cup and spread evenly. Sprinkle with sea salt if desired.
Step 6: Set & Serve
Allow the cups to cool at room temperature for 20 minutes or place them in the refrigerator to set faster. Once firm, remove the paper liners and serve!
How to Serve Chocolate Peanut Butter Rice Krispie Cups
These delightful Chocolate Peanut Butter Rice Krispie Cups are versatile treats that can be enjoyed in various ways. Whether you’re hosting a party or simply indulging at home, these serving suggestions will elevate your snacking experience.
For Parties
- On a Dessert Table: Arrange the cups on a colorful platter alongside other desserts for a festive look.
- Individual Servings: Place each cup in its own small bag or box to hand out as party favors.
As a Snack
- With Coffee or Tea: Pair these cups with your favorite hot beverage for a delightful afternoon treat.
- Post-Workout Boost: These cups provide energy, making them perfect for a quick snack after exercise.
For Kids’ Lunchboxes
- Fun Treats: Include them as a sweet surprise in children’s lunchboxes. They are sure to love it!
- After-School Snack: Serve them with some fresh fruit for a balanced after-school snack.
How to Perfect Chocolate Peanut Butter Rice Krispie Cups
To achieve the ultimate Chocolate Peanut Butter Rice Krispie Cups, keep these tips in mind for the best results.
- Bold Measurement Accuracy: Use exact measurements of all ingredients to ensure the right texture and flavor.
- Bold Low Heat Melting: Always melt butter and marshmallows over low heat to prevent burning and achieve a smooth mixture.
- Bold Gentle Mixing: When combining the Rice Krispies with the peanut butter mixture, fold gently to avoid crushing the cereal.
- Bold Quality Chocolate: Use high-quality chocolate chips for a richer flavor and better melting consistency.
- Bold Cooling Time: Allow enough time for the cups to cool completely before removing them from the muffin tin to maintain their shape.
Best Side Dishes for Chocolate Peanut Butter Rice Krispie Cups
Pairing side dishes with your Chocolate Peanut Butter Rice Krispie Cups can enhance your dessert experience. Here are some great options that complement their sweet and nutty flavors.
- Fresh Fruit Salad: A mix of seasonal fruits adds freshness and balances the sweetness of the cups.
- Vanilla Ice Cream: Serve with a scoop of vanilla ice cream for an indulgent treat that’s sure to please.
- Chocolate Dipped Strawberries: These add an elegant touch while echoing the chocolate flavor of the cups.
- Nutty Granola Bars: Provide a crunchy contrast that pairs well with the creamy texture of the rice krispie treats.
- Yogurt Parfaits: Layer yogurt with berries and granola for a wholesome side that complements dessert nicely.
- Milkshakes: A rich milkshake is perfect for dipping or enjoying alongside these delicious treats.
Common Mistakes to Avoid
When making Chocolate Peanut Butter Rice Krispie Cups, it’s easy to make some common mistakes. Here are a few to keep in mind:
- Skipping the Melting Process: Always melt the butter and marshmallows together. If you skip this step, your mixture won’t combine well, leading to uneven cups.
- Overmixing the Cereal: Gently fold the Rice Krispies into the peanut butter mixture. Overmixing can crush the cereal, resulting in a less crispy texture.
- Not Using Paper Liners: Forgetting to line your muffin tin can cause a sticky mess. Always use paper liners to make removal easier and keep the cups intact.
- Neglecting to Cool Properly: Letting the cups cool at room temperature ensures they set correctly. If you rush this step, they may not hold their shape when removed from the tin.
- Ignoring Optional Ingredients: While vanilla extract and sea salt are optional, they enhance flavor significantly. Don’t skip them if you want an extra tasty treat!
Storage & Reheating Instructions
Refrigerator Storage
- Store in an airtight container for up to one week.
- Keep layers separated with parchment paper to prevent sticking.
Freezing Chocolate Peanut Butter Rice Krispie Cups
- Freeze for up to 3 months.
- Place cups in a single layer on a baking sheet until frozen, then transfer them to an airtight container.
Reheating Chocolate Peanut Butter Rice Krispie Cups
- Oven: Preheat to 300°F (150°C) and warm for about 5-7 minutes. This method keeps them from getting too soft.
- Microwave: Heat one cup at a time for 10-15 seconds. Watch closely to avoid melting too much.
- Stovetop: Use a pan over low heat, placing the cup directly in for just a minute or so. This warms them gently without compromising texture.
Frequently Asked Questions
How long do Chocolate Peanut Butter Rice Krispie Cups last?
These delicious treats last about one week in the refrigerator when stored properly.
Can I customize my Chocolate Peanut Butter Rice Krispie Cups?
Absolutely! You can add nuts, dried fruit, or even swap out chocolate chips for butterscotch or white chocolate.
Are Chocolate Peanut Butter Rice Krispie Cups gluten-free?
Yes, as long as you use gluten-free Rice Krispies, these treats are safe for those with gluten sensitivities.
What is the best way to cut calories in this recipe?
Consider using reduced-fat peanut butter or sugar-free chocolate chips as alternatives.
Can I make these without marshmallows?
Yes! You can use alternative binding agents like honey or agave syrup if you’re looking for a healthier option.
Final Thoughts
Chocolate Peanut Butter Rice Krispie Cups are not only quick and easy but also incredibly versatile! You can customize them based on your taste preferences or dietary needs. Whether you enjoy them as a party snack or an indulgent treat after dinner, these cups are sure to please everyone. Try making them today and discover your favorite variations!

Chocolate Peanut Butter Rice Krispie Cups
- Total Time: 3 minute
- Yield: Approximately 20 servings 1x
Description
Indulge in the delightful world of Chocolate Peanut Butter Rice Krispie Cups! These no-bake treats combine the creamy richness of peanut butter with luscious chocolate and crispy Rice Krispies, creating a perfect snack or dessert for any occasion. Whether you’re hosting a party, needing a quick pick-me-up, or preparing fun treats for kids’ lunchboxes, these cups are sure to be a hit. With just 10 minutes of preparation and no need for an oven, making these sweet delights is a breeze. Customize them with your favorite toppings or enjoy them as they are—the choice is yours!
Ingredients
- 3 cups Rice Krispies cereal
- 1 cup creamy peanut butter
- 1/2 cup unsalted butter
- 1 cup mini marshmallows
- 1 cup chocolate chips
- 1/2 tsp vanilla extract (optional)
- Pinch of sea salt (optional)
Instructions
- Melt the butter and mini marshmallows in a medium saucepan over low heat until smooth.
- Stir in the peanut butter (and vanilla if using) until well combined.
- In a large bowl, fold the Rice Krispies into the melted mixture until evenly coated.
- Line a muffin tin with paper liners and spoon the mixture into each cup, pressing down gently.
- Melt chocolate chips in a microwave-safe bowl at 20-second intervals, stirring until smooth.
- Spoon melted chocolate over each cup and sprinkle with sea salt if desired.
- Allow to cool at room temperature or refrigerate until set before serving.
- Prep Time: 10 minutes
- Cook Time: None
- Category: Dessert
- Method: No-Bake
- Cuisine: American
Nutrition
- Serving Size: 1 cup (45g)
- Calories: 190
- Sugar: 9g
- Sodium: 80mg
- Fat: 11g
- Saturated Fat: 4g
- Unsaturated Fat: 7g
- Trans Fat: 0g
- Carbohydrates: 18g
- Fiber: 1g
- Protein: 4g
- Cholesterol: 10mg
Keywords: For added texture, consider mixing in crushed nuts or dried fruit. Adjust sweetness by using dark chocolate chips or sugar-free alternatives.