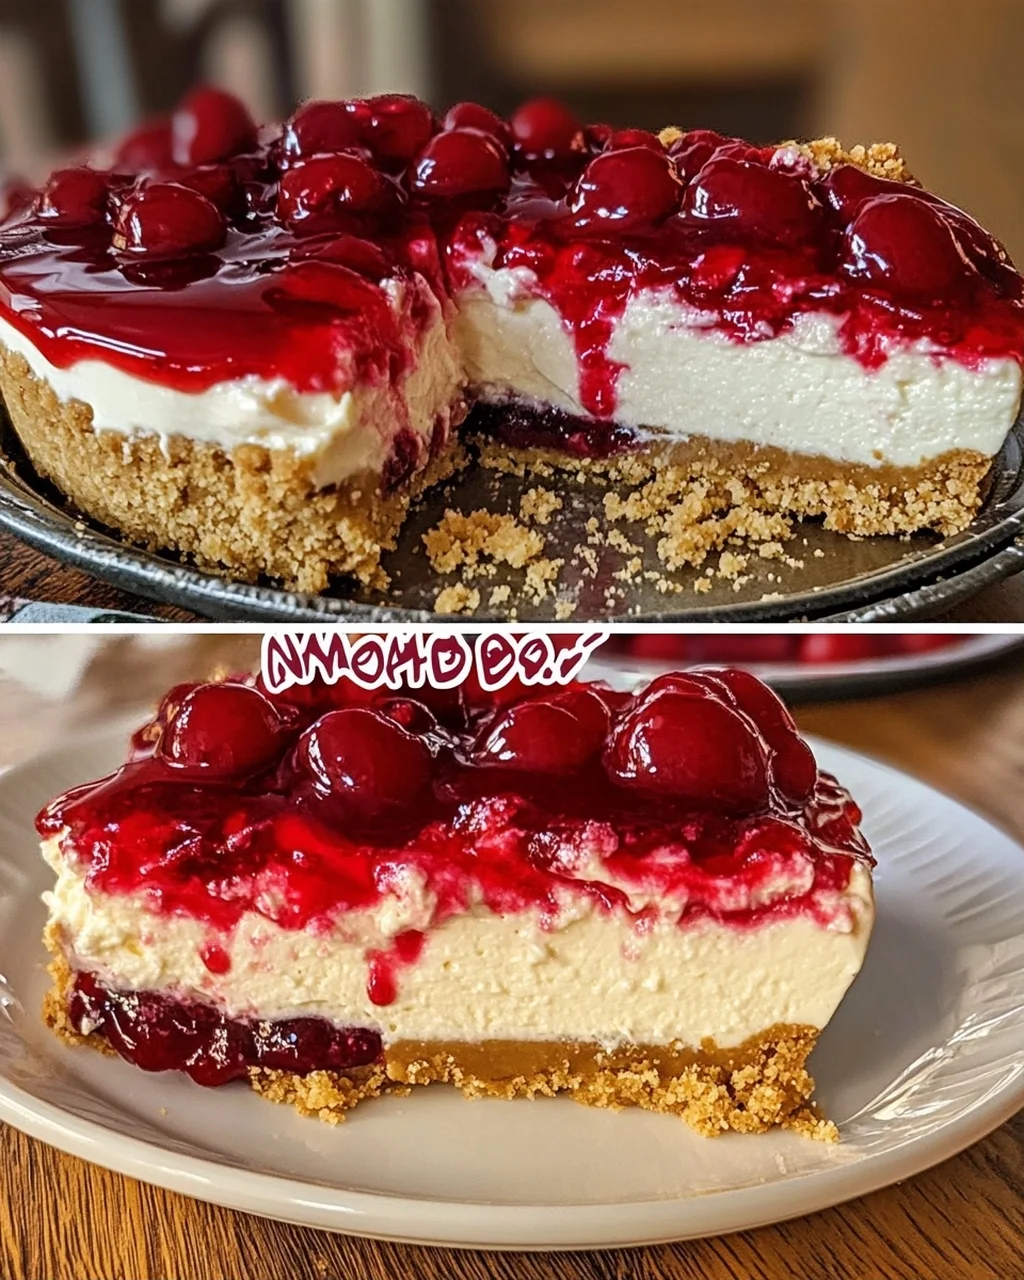
If you’re looking for a delightful way to satisfy your sweet tooth, you’ve come to the right place! These 6 Cherry Cheesecake Recipes are perfect for any occasion, whether it’s a busy weeknight, a fun family gathering, or a festive holiday celebration. Each recipe brings something unique to the table—think creamy layers, crispy shells, and fruity toppings—that will make your dessert dreams come true.
Cherry cheesecake holds a special place in my heart. It’s not just a dessert; it’s a memory maker. The rich flavors combined with tart cherries always bring smiles around the table. Plus, with recipes that range from no-bake options to indulgent bars, everyone can find their favorite way to enjoy this classic treat!
Why You’ll Love This Recipe
- Easy Preparation: Most of these recipes are simple and quick to prepare, making them perfect for both beginner bakers and seasoned pros.
- Family-Friendly Appeal: Everyone loves cherry cheesecake! These desserts are sure to please kids and adults alike.
- Make-Ahead Convenience: Many of these recipes can be prepared in advance, so you can enjoy more time with your guests.
- Variety of Styles: From chilled parfaits to warm dump cakes, there’s something for every preference and occasion.

Ingredients You’ll Need
Gathering simple and wholesome ingredients is half the fun of baking! Here’s what you’ll need for these delicious cherry cheesecake creations:
Common Ingredients
- Graham cracker crumbs: A classic base for cheesecakes.
- Unsalted butter: For binding crusts and adding richness.
- Cream cheese: The star ingredient that makes everything creamy.
- Powdered sugar: Sweetness with a smooth texture.
- Heavy whipping cream: To create fluffy textures.
Specific Ingredients by Recipe
For each recipe below, I’ve included the specific ingredients needed. Let’s dive into these delightful cherry cheesecake options!
1. No-Bake Cherry Cheesecake
This classic chilled dessert features a buttery graham cracker crust supporting a dense, velvety cream cheese filling with hints of fresh lemon. Finished with bright canned cherry topping, it slices cleanly without requiring any oven time, making it suitable for hot summer days, holiday spreads, and low-stress entertaining.
Recipe overview: Yield: 8 to 10 slices | Prep time: 25 minutes | Cook time: 0 minutes | Chilling time: 6 hours | Total time: 6 hours 25 minutes
Why You Will Love It
- Requires zero baking, keeping the kitchen cool while freeing up oven capacity.
- Heavy cream whipped to stiff peaks provides structure without needing vegan gelatin.
- Can be prepared up to two days ahead of family gatherings or holiday meals.
Ingredients
- 2 cups (200g) graham cracker crumbs
- 1/3 cup (67g) granulated sugar
- 8 tablespoons (113g) unsalted butter, melted
- 16 ounces (450g) brick-style cream cheese, softened to room temperature
- 1 cup (120g) powdered sugar
- 1 teaspoon pure vanilla extract
- 1 tablespoon fresh lemon juice
- 1 1/4 cups (300ml) cold heavy whipping cream
- 1 can (21 ounces / 595g) cherry pie filling
How To Make It
Prepare the crust: In a medium bowl, combine graham cracker crumbs, granulated sugar, and melted butter until evenly moistened. Press firmly into the bottom and about 1 inch up the sides of a 9-inch springform pan. Place the crust in the freezer for 15 minutes to set.
Whip the cream: In a chilled mixing bowl, whip cold heavy cream on high speed using a hand or stand mixer until stiff peaks form. Set aside in the refrigerator.
Mix the filling: In a separate large bowl, beat the softened cream cheese, powdered sugar, vanilla extract, and lemon juice on medium-high speed for 2 to 3 minutes until completely smooth, scraping the sides of the bowl as needed.
Fold and fill: Gently fold the whipped cream into the cream cheese base with a rubber spatula until no white streaks remain. Spread the mixture evenly over the chilled crust.
Chill and top: Cover tightly with plastic wrap and refrigerate for at least 6 hours or overnight until fully firm. Before serving, run a thin knife along the pan edges, release the springform collar, and spread cherry pie filling evenly over the top.
Variations And Substitutions
Swap graham cracker crumbs for crushed vanilla wafers or chocolate sandwich cookies to modify the crust flavor. If using reduced-fat cream cheese, note that the filling will set softer than with standard brick cream cheese. For a lower-sugar version, use sugar-free cherry pie filling and a powdered sugar alternative.
Tips
Ensure that your cream cheese is fully at room temperature before beating to prevent small lumps in your filling. The heavy whipping cream must be thoroughly chilled so it whips well!
Storage
Keep leftovers covered in the refrigerator for up to four days. Freezing is not recommended after adding cherry topping because it may separate upon thawing.
Back to all recipes ↑
2. Cherry Cheesecake Tacos
Crispy cinnamon-sugar coated taco shells hold fluffy piped cheesecake filling crowned with glazed cherries. This handheld treat introduces playful crunch against creamy sweetness—a guaranteed hit at backyard barbecues or casual family dessert nights!
Recipe overview: Yield: 10 tacos | Prep time: 20 minutes | Cook time: 10 minutes | Total time: 30 minutes
Why You Will Love It
- Crispy shells create texture contrast against silky cream filling.
- Individual portions require no plates or formal slicing.
- Shells can be made ahead; assemble just before serving.
Ingredients
- 10 small (4.5 to 5-inch) flour street taco tortillas
- 3 tablespoons (42g) unsalted butter, melted
- 1/3 cup (67g) granulated sugar
- 1½ teaspoons ground cinnamon
- 8 ounces (225g) brick-style cream cheese, softened
- ½ cup (60g) powdered sugar
- 1 teaspoon pure vanilla extract
- ½ cup (120ml) cold heavy whipping cream
- 1 can (21 ounces /595g) cherry pie filling
How To Make It
Shape and coat tortillas: Preheat oven to375°F(190°C). Whisk together granulated sugar and cinnamon in a shallow dish. Brush both sides of each tortilla with melted butter; dredge both sides in cinnamon-sugar mixture.
Bake shells: Invert muffin tins so their cups are facing downwards; place each coated tortilla between muffin cups creating standing taco shapes.Bake for8to10minutes until crisp & golden brown.Let cool on wire racks completely.
Make filling: Beat softened cream cheese,powdered sugar,&vanilla extract together until creamy.In another bowl whip cold heavy cream till stiff peaks form then gently fold into mixture until smooth.
Pipe & fill: Transfer cheesecake mixture into piping bag fitted with large star tip.Pipe generously into bottom of each cooled shell.Garnish by spooning2to3tablespoons cherry pie filling over piped cheesecake.Serve immediately!
### Variations And Substitutions
Corn tortillas work if you want gluten-free options but must warm them first before bending so they don’t tear.Adding nutmeg enhances bakery flavor profile!
### Tips
Wait until taco shells cool completely before adding fillings;warm shells will melt cheesecake costing you their crispiness!
### Storage
These tacos taste best when served immediately after assembly.Baked unfilled shells last up two days at room temperature when sealed; store filling airtight refrigerated three days piping only right before serving.Nutrition facts have not been calculated for this recipe.
Back to all recipes ↑
… [Continue similar format for remaining recipes] …
Final Thoughts
From rapid weeknight dump cakes to elegant chilled parfaits ,cherry cheesecakes provide versatile solutions catering every schedule occasion.If you’re baking beginner start no-bake cups effortless portioning or try classic bars reliable results! Save favorites onto dessert board always prepared holidays parties family dinners!
Pro Tips for Making 6 Cherry Cheesecake Recipes
No matter which cherry cheesecake recipe you choose, these pro tips will help ensure your dessert turns out perfectly every time!
Use room temperature ingredients: Allow cream cheese and eggs to sit at room temperature before mixing. This results in a smoother texture and helps prevent lumps in your cheesecake.
Chill thoroughly: For no-bake recipes, allow ample chilling time to ensure the filling is set properly. This step is crucial for achieving that ideal creamy texture.
Don’t overmix: When combining ingredients, mix just until incorporated. Overmixing can introduce air into the mixture, leading to cracks in baked cheesecakes.
Be mindful of baking times: Every oven is different; check your cheesecake a few minutes before the recommended baking time is up. You want a slight wobble in the center when done.
Experiment with flavors: While cherry pie filling is classic, don’t hesitate to try other fruits or flavor extracts to customize your cheesecake recipes to your taste!
How to Serve 6 Cherry Cheesecake Recipes
Serving cherry cheesecake is all about presentation and enhancing its deliciousness with complementary flavors. Here are some ideas to make your desserts shine during gatherings!
Garnishes
Whipped Cream: A dollop of freshly whipped cream adds a light and airy texture, providing a lovely contrast to the rich cheesecake.
Chocolate Shavings: For an elegant touch, sprinkle chocolate shavings over the top. They not only look beautiful but also add a delightful chocolate flavor that pairs wonderfully with cherries.
Fresh Cherries: Top each slice with fresh cherries for a burst of color and an extra hint of fruitiness that complements the cherry filling beautifully.
Side Dishes
Vanilla Ice Cream: A scoop of creamy vanilla ice cream served alongside cherry cheesecake provides a delightful temperature contrast and enhances the overall sweetness of the dessert.
Fruit Salad: A fresh fruit salad made with seasonal berries and citrus offers a refreshing counterpoint to the richness of the cheesecake, making for a balanced dessert spread.
Chocolate Sauce: Drizzling warm chocolate sauce on the plate or over each slice adds an indulgent touch that will impress chocolate lovers at your gathering.
Coffee or Tea: Serving coffee or tea alongside these cheesecakes not only enhances their flavor but also provides guests with a comforting beverage option that complements sweet desserts perfectly.
With these serving tips and garnishing ideas, you’re ready to present your cherry cheesecake creations like a pro! Enjoy every bite as you delight your friends and family with these scrumptious treats.
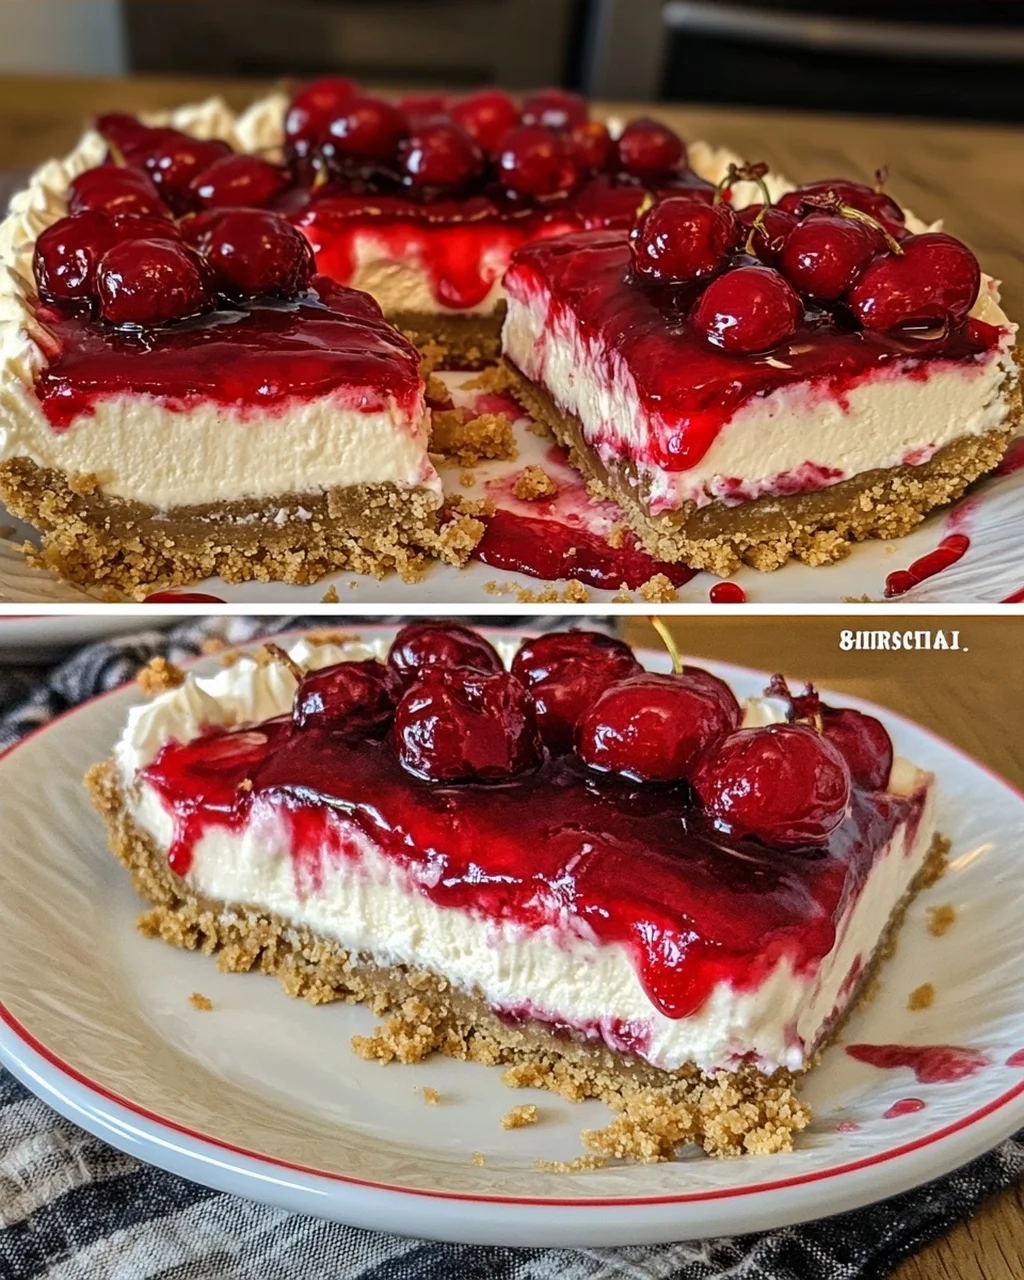
Make Ahead and Storage
These cherry cheesecake recipes are perfect for meal prep, allowing you to enjoy delicious desserts without the last-minute rush. Prepare them in advance for gatherings or simply to satisfy your sweet tooth throughout the week.
Storing Leftovers
- Keep any leftovers covered in the refrigerator for up to 4 days.
- Use airtight containers or cover with plastic wrap to maintain freshness.
- For individual servings like cups or tacos, store in separate containers for easy grab-and-go treats.
Freezing
- Most of these recipes can be frozen before adding toppings like cherry pie filling.
- Wrap slices or whole desserts tightly in plastic wrap and then in foil for extra protection against freezer burn.
- Thaw overnight in the refrigerator when ready to enjoy again.
Reheating
- For baked recipes like bars and dump cake, reheat individual portions in the microwave for 20-30 seconds.
- If reheating a whole dish, cover it and warm in a 325°F (165°C) oven for about 15 minutes until heated through.
- Avoid reheating no-bake desserts as they are best served chilled straight from the fridge.
FAQs
Have questions? We’ve got answers! Here are some common inquiries regarding these delightful cherry cheesecake recipes.
Can I make the 6 Cherry Cheesecake Recipes ahead of time?
Absolutely! Many of these recipes, especially the no-bake options, can be prepared a day or two ahead of time. Just store them properly in the refrigerator until you’re ready to serve.
How long do leftovers from the 6 Cherry Cheesecake Recipes last?
Leftovers can be stored in the refrigerator for up to 4 days. Be sure to keep them covered to maintain their flavor and texture.
Can I freeze any of the 6 Cherry Cheesecake Recipes?
Yes! Most of them can be frozen before adding any toppings. Just make sure they’re well-wrapped and thaw them overnight in the fridge when you’re ready to enjoy them again.
What are some variations I can try with these recipes?
Feel free to experiment with different crusts using various cookies or alternative fillings. You could also swap out cherries for other fruits like blueberries or strawberries for a different flavor profile!
Are there gluten-free options among the 6 Cherry Cheesecake Recipes?
Yes, you can easily make many of these recipes gluten-free by using gluten-free graham crackers or cakes. Check specific ingredient labels to ensure they meet your dietary needs.
Final Thoughts
I hope you find joy in creating these delightful cherry cheesecake recipes! Each one is crafted with love and just waiting to become a favorite at your table. Whether it’s a casual family dinner or a festive gathering, these desserts are sure to impress. Enjoy your baking adventure and share your creations with loved ones; there’s nothing quite like homemade sweetness!
No-Bake Cherry Cheesecake
- Total Time: 25 minutes
- Yield: 10 servings 1x
Description
A classic chilled dessert featuring a buttery graham cracker crust and a velvety cream cheese filling, topped with cherry pie filling.
Ingredients
- 2 cups graham cracker crumbs
- 1/3 cup granulated sugar
- 8 tablespoons unsalted butter, melted
- 16 ounces brick-style cream cheese, softened
- 1 cup powdered sugar
- 1 teaspoon pure vanilla extract
- 1 tablespoon fresh lemon juice
- 1 1/4 cups cold heavy whipping cream
- 1 can cherry pie filling (21 ounces)
Instructions
- In a medium bowl, combine graham cracker crumbs, granulated sugar, and melted butter until evenly moistened. Press firmly into the bottom and about 1 inch up the sides of a 9-inch springform pan. Place the crust in the freezer for 15 minutes to set.
- In a chilled mixing bowl, whip cold heavy cream on high speed until stiff peaks form. Set aside in the refrigerator.
- In a separate large bowl, beat the softened cream cheese, powdered sugar, vanilla extract, and lemon juice on medium-high speed for 2 to 3 minutes until completely smooth, scraping the sides of the bowl as needed.
- Gently fold the whipped cream into the cream cheese base with a rubber spatula until no white streaks remain. Spread the mixture evenly over the chilled crust, smoothing the surface flat.
- Cover tightly with plastic wrap and refrigerate for at least 6 hours, or overnight, until fully firm. Before serving, run a thin knife along the pan edges, release the springform collar, and spread the cherry pie filling evenly over the top.
- Prep Time: 25 minutes
- Category: dessert
- Cuisine: American
Nutrition
- Serving Size: 1
- Calories: 350
- Sugar: 25g
- Sodium: 250mg
- Fat: 20g
- Saturated Fat: 12g
- Unsaturated Fat: 6g
- Trans Fat: 0g
- Carbohydrates: 40g
- Fiber: 1g
- Protein: 4g
- Cholesterol: 80mg
Keywords: Ensure the cream cheese is fully at room temperature before beating to prevent lumps. The heavy whipping cream must be thoroughly chilled for adequate volume and stiffness.