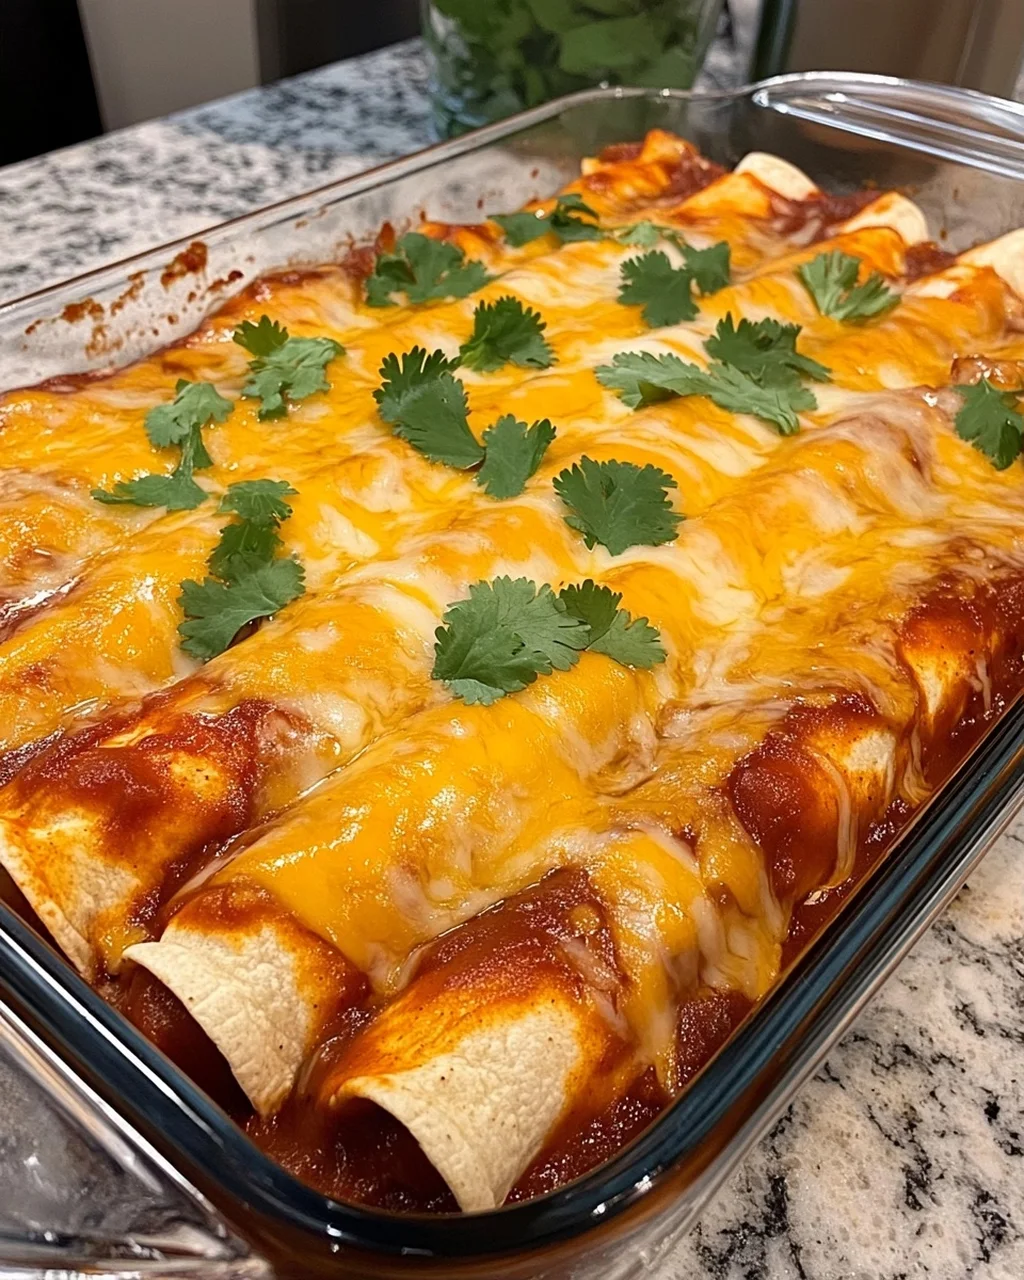
If you’re looking for a dish that warms the heart and delights the senses, you’ve come to the right place! Cheese Enchiladas are not just any meal; they are a cherished comfort food that brings a smile to everyone at the table. Imagine biting into a soft tortilla filled with gooey cheese and smothered in rich, savory sauce—pure bliss! This recipe is perfect for those busy weeknights when you want something satisfying yet easy to prepare, or for family gatherings where everyone can dig in and enjoy.
What I love most about these Cheese Enchiladas is how simple pantry staples transform into something truly special. They bring a little bit of Mexican-inspired magic to your home kitchen, making every occasion feel like a celebration!
Why You’ll Love This Recipe
- Quick to Prepare: With only 20 minutes of prep time, you’ll have these delicious enchiladas ready in no time.
- Family-Friendly: Kids and adults alike will adore the cheesy goodness wrapped in warm tortillas.
- Make-Ahead Convenience: You can easily prepare them ahead of time and bake them when you’re ready to eat.
- Versatile Flavor: The combination of sharp cheddar and Monterey Jack offers a delightful flavor profile that everyone loves.

Ingredients You’ll Need
These Cheese Enchiladas are made with simple, wholesome ingredients that you likely already have on hand! Let’s gather everything you need for this delightful dish:
For the Enchiladas
- 12 medium corn tortillas (6-inch)
- 4 cups shredded cheese (2 cups sharp cheddar, 2 cups Monterey Jack)
- 3 cups red enchilada sauce
- 2 tablespoons vegetable oil
- 1 medium yellow onion (finely diced)
- 2 cloves garlic (minced)
- 1 teaspoon salt
- ½ teaspoon black pepper
Variations
This recipe is wonderfully flexible! If you’re feeling adventurous or want to cater to different tastes, here are some fun ideas:
- Swap the cheese: Try using pepper jack for a spicy kick or mozzarella for a milder flavor.
- Add vegetables: Incorporate sautéed bell peppers or zucchini for extra nutrients and flavor.
- Experiment with sauces: Use green enchilada sauce instead of red for a different taste experience.
- Make it spicy: Add diced jalapeños or a pinch of cayenne pepper to the cheese mixture for added heat.
How to Make Cheese Enchiladas
Step 1: Preheat Your Oven
Start by preheating your oven to 375°F (190°C). This ensures your enchiladas will bake evenly and get perfectly bubbly by the time they’re done. Also, grease your 9×13 inch baking dish and spread about ½ cup of enchilada sauce on the bottom. This helps prevent sticking and adds flavor right from the start!
Step 2: Warm Your Tortillas
In a skillet with vegetable oil, warm each tortilla for about 10 seconds per side until pliable. This step is crucial because soft tortillas make rolling easier and prevent tearing. Plus, it adds an extra layer of warmth and flavor!
Step 3: Mix Your Filling
In a bowl, combine finely diced onion, minced garlic, salt, black pepper, and half of your shredded cheese. Mixing these ingredients together creates a lovely filling that’s full of flavor. The onions will soften during baking while adding sweetness—a delightful contrast to the richness of the cheese.
Step 4: Fill and Roll
Take each warmed tortilla and fill it with your cheesy mixture. Roll tightly and place seam-side down in your baking dish. Don’t worry if they aren’t perfect; every roll is made with love!
Step 5: Bake to Perfection
Pour the remaining enchilada sauce over your rolls, sprinkle with the rest of your cheese, cover with foil, and bake for 20 minutes. After this initial bake, remove the foil and let them bake an additional 10-15 minutes until they are bubbly and golden on top. This final touch ensures that every bite is filled with melty goodness.
Enjoy your homemade Cheese Enchiladas—they’re sure to become a favorite in your household!
Pro Tips for Making Cheese Enchiladas
Making Cheese Enchiladas is a delightful experience, and with a few handy tips, you can elevate your dish to the next level!
Choose Quality Tortillas: Fresh corn tortillas make all the difference in texture and flavor. Look for soft, pliable options that will hold up well when rolled.
Heat Your Sauce: Warming your enchilada sauce before pouring it over the filled tortillas helps to meld the flavors together and ensures even cooking throughout.
Experiment with Cheese Blends: While sharp cheddar and Monterey Jack are classic choices, consider mixing in other cheeses like pepper jack for a little heat or cream cheese for extra creaminess.
Don’t Skip the Foil Covering: Covering your baking dish with foil during the first part of baking traps steam, helping the enchiladas cook evenly without drying out. Remove it later to achieve that golden, bubbly top.
Let Them Rest: Allowing your enchiladas to sit for about 10 minutes after baking lets them set up nicely, making them easier to serve without falling apart.
How to Serve Cheese Enchiladas
Presenting your Cheese Enchiladas can turn a simple meal into an extraordinary dining experience! Here are some ideas to make your dish shine.
Garnishes
Fresh Cilantro: Chopped cilantro adds a burst of freshness and color that complements the rich flavors of the enchiladas beautifully.
Sour Cream or Vegan Alternative: A dollop of sour cream provides a creamy contrast to the spicy sauce, balancing out flavors perfectly.
Sliced Avocado: Creamy avocado slices not only enhance presentation but also add a satisfying richness that pairs wonderfully with cheese enchiladas.
Side Dishes
Mexican Rice: Fluffy Mexican rice is a classic side that soaks up any extra sauce from the enchiladas, providing a delightful combination on your plate.
Refried Beans: Creamy refried beans add protein and fiber while complementing the cheesy goodness of your main dish. They can be seasoned to taste for added flavor.
Corn Salad: A refreshing corn salad with lime dressing adds crunch and brightness, contrasting nicely with the warm, cheesy enchiladas.
Garden Salad: A simple garden salad with mixed greens and your favorite vinaigrette offers a light and refreshing balance to this hearty meal.
With these serving suggestions and pro tips, you’re all set to enjoy an amazing plate of Cheese Enchiladas! Happy cooking!
Make Ahead and Storage
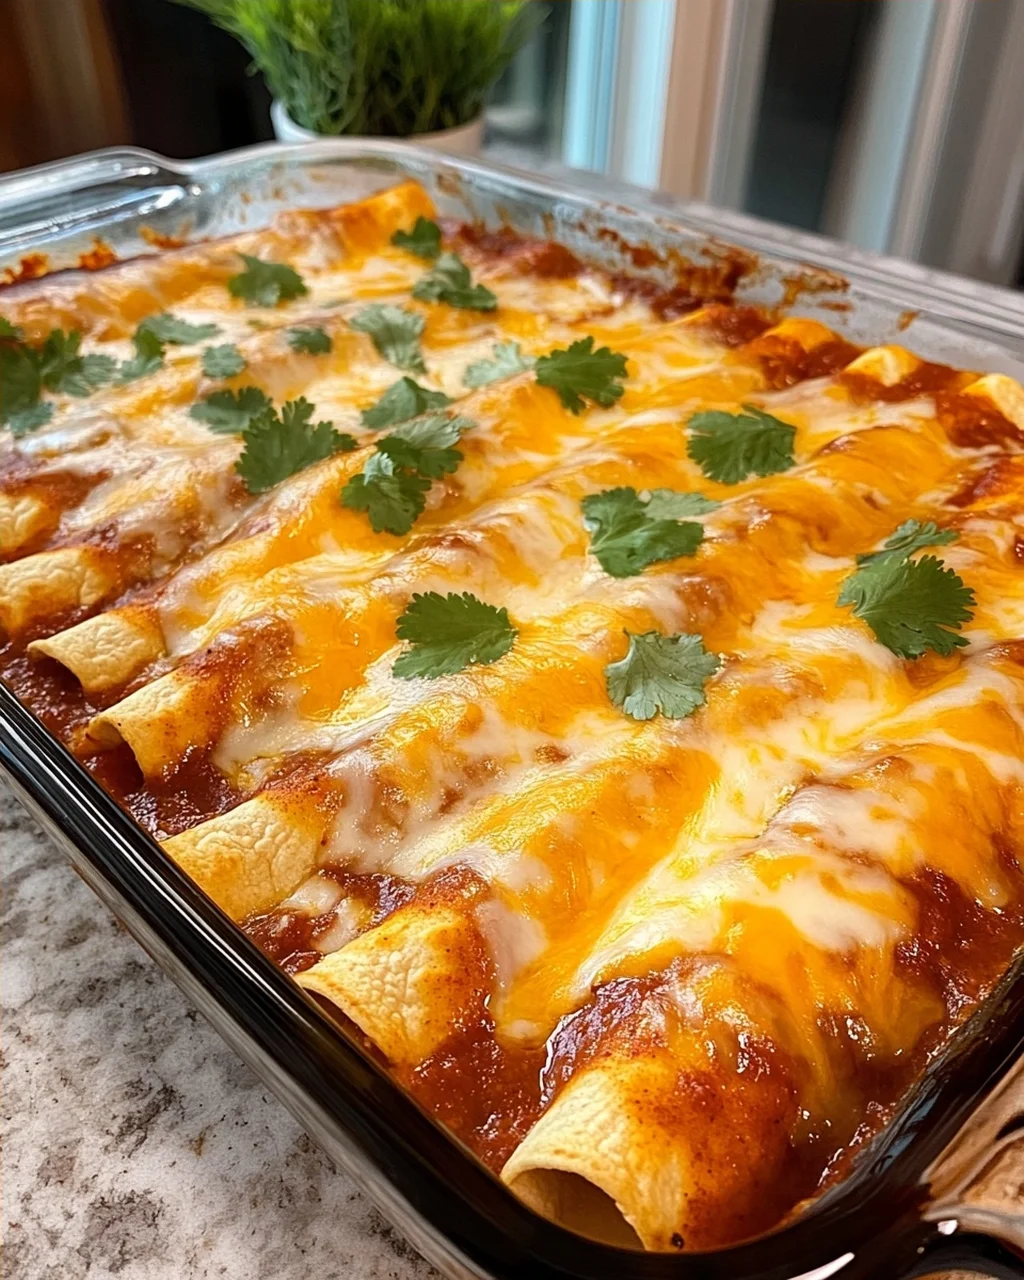
Cheese Enchiladas are perfect for meal prep, making them a fantastic choice for busy weeks. You can easily prepare them in advance or store leftovers for quick meals later in the week.
Storing Leftovers
- Allow the enchiladas to cool completely before storing.
- Place leftovers in an airtight container.
- Store in the refrigerator for up to 4 days.
Freezing
- Assemble the enchiladas without baking them first.
- Cover tightly with plastic wrap and then foil to prevent freezer burn.
- Freeze unbaked enchiladas for up to 3 months.
- Thaw overnight in the fridge before baking.
Reheating
- Preheat your oven to 350°F (175°C).
- Place enchiladas in an oven-safe dish and cover with foil.
- Heat for about 20-25 minutes or until warmed through.
- Remove foil during the last 5 minutes if you’d like the cheese to brown slightly.
FAQs
Here are some commonly asked questions about making Cheese Enchiladas.
Can I use different types of cheese for Cheese Enchiladas?
Absolutely! Feel free to experiment with various cheese blends such as pepper jack for added spice, or even a vegan cheese alternative if you prefer a dairy-free option.
How do I make my Cheese Enchiladas spicier?
To add heat, consider using a spicier enchilada sauce or mixing some diced jalapeños into your filling. You can also top your enchiladas with sliced fresh chilies before serving.
How long does it take to make Cheese Enchiladas from start to finish?
This recipe takes about 55 minutes from prep to table, making it a great option for a cozy weeknight dinner that feels special without taking too much time!
Final Thoughts
I truly hope you enjoy making these Cheese Enchiladas as much as I do! They are not just a meal but a comforting experience that brings family and friends together. Whether it’s a cozy dinner at home or shared with loved ones, this dish is one you’ll want to revisit time and again. Happy cooking, and don’t forget to share your delicious creations!
Cheese Enchiladas
- Total Time: 55 minutes
- Yield: 6 servings 1x
Description
Cheese Enchiladas are a comforting staple of Mexican-inspired home cooking, defined by their rich, savory sauce and the satisfying pull of melted cheese within every bite.
Ingredients
- 12 medium corn tortillas ((6-inch))
- 4 cups shredded cheese ((2 cups sharp cheddar, 2 cups Monterey Jack))
- 3 cups red enchilada sauce
- 2 tablespoons vegetable oil
- 1 medium yellow onion ((finely diced))
- 2 cloves garlic ((minced))
- 1 teaspoon salt
- ½ teaspoon black pepper
Instructions
- Preheat oven to 375°F (190°C). Grease a 9×13 inch baking dish and spread ½ cup of sauce on the bottom.
- Warm tortillas in a skillet with oil for 10 seconds per side until pliable.
- Mix diced onion, garlic, salt, pepper, and half the cheese in a bowl.
- Fill each tortilla with the mixture, roll tightly, and place seam-side down in the dish.
- Pour remaining sauce over rolls, top with remaining cheese, cover with foil, and bake for 20 minutes. Remove foil and bake for 10-15 minutes more until bubbly and golden.
- Prep Time: 20 minutes
- Cook Time: 35 minutes
- Category: Main Dish
- Cuisine: Mexican
Nutrition
- Serving Size: 1
- Calories: 350
- Sugar: 2g
- Sodium: 800mg
- Fat: 20g
- Saturated Fat: 10g
- Unsaturated Fat: 8g
- Trans Fat: 0g
- Carbohydrates: 30g
- Fiber: 3g
- Protein: 15g
- Cholesterol: 50mg
Keywords: Store leftovers in an airtight container in the fridge for up to 4 days. Freeze unbaked enchiladas for up to 3 months. Thaw in the fridge before baking.