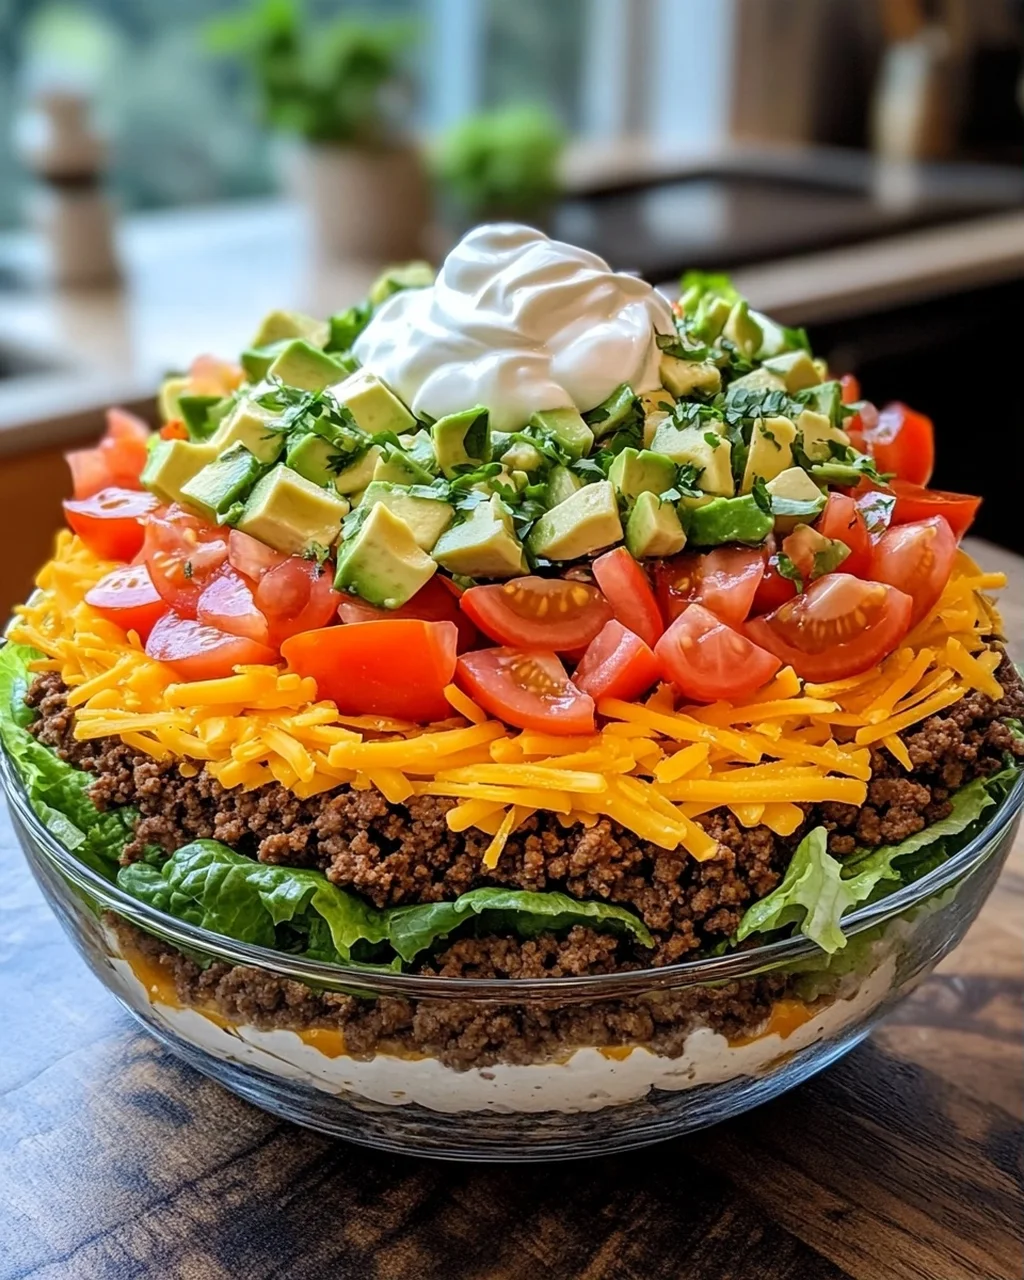
If you’re looking for a fun, vibrant dish that’s sure to please everyone at the table, then you’ll love this Layered Taco Salad! This recipe is not just a meal; it’s an experience. Each layer brings its unique flavor and texture, from the savory seasoned beef to the crunchy fresh veggies. It’s perfect for busy weeknights when you want something quick yet satisfying, or for family gatherings where everyone can dig in and enjoy.
What makes this Layered Taco Salad truly special is how customizable it is. You can easily adjust the ingredients to fit your family’s tastes or whatever you have on hand. Plus, it looks beautiful served in a clear dish, making it a great centerpiece for any occasion—whether it’s a casual potluck or game day with friends!
Why You’ll Love This Recipe
- Quick and Easy: With just 15 minutes of prep time, you can whip up this delicious salad without a fuss.
- Family-Friendly: The layers of flavors make it appealing to kids and adults alike, ensuring everyone will love it!
- Make-Ahead Convenience: Prepare certain elements in advance and assemble right before serving for stress-free entertaining.
- Versatile Ingredients: Feel free to swap out ingredients based on what you have available or your dietary preferences.
- Fresh and Flavorful: The combination of fresh veggies and creamy toppings keeps each bite exciting and satisfying.

Ingredients You’ll Need
These are simple, wholesome ingredients that come together beautifully in this Layered Taco Salad. You probably already have many of them in your pantry! Let’s take a look at what you’ll need:
For the Salad
- 1 pound ground beef (85% lean)
- 1 packet taco seasoning (1 ounce)
- 1 head iceberg or romaine lettuce (chopped)
- 1 can diced tomatoes (14.5 ounces, drained)
- 2 cups shredded cheddar cheese (divided)
- 2 ripe avocados (peeled, pitted, and cubed)
- 1 cup sour cream
- 1 bag tortilla chips (10-12 ounces)
Variations
One of the best things about this Layered Taco Salad is its flexibility! You can easily adapt it to suit different tastes or dietary needs. Here are some ideas to get you started:
- Swap the protein: Use ground turkey or chicken for a lighter option that still packs flavor.
- Add beans: Black beans or kidney beans can boost the protein and fiber content while adding extra texture.
- Go vegetarian: Skip the meat altogether and replace it with roasted vegetables or extra beans for a hearty meatless version.
- Change the cheese: Experiment with different cheeses like pepper jack for a spicy kick or even a dairy-free cheese alternative.
How to Make Layered Taco Salad
Step 1: Prepare the Beef
Start by browning the ground beef in a skillet over medium-high heat until it’s fully cooked. Draining any excess fat helps keep your salad lighter. Once the beef is browned, add the taco seasoning along with ¼ cup of water. Let it simmer for 2-3 minutes until thickened—this step infuses all those delicious flavors into the meat!
Step 2: Build Your Base
In a large clear bowl or baking dish, spread half of your chopped lettuce as the foundation. This base layer adds crunch and freshness right from the start.
Step 3: Add Layers of Flavor
Next, layer that flavorful cooked beef over your lettuce. Sprinkle one cup of shredded cheddar cheese on top—it melts slightly into the warm beef, creating an irresistible combination.
Step 4: Top with Veggies
Now it’s time to add some color! Pour on your drained diced tomatoes and follow with another layer of lettuce and cheddar cheese. These layers not only look beautiful but also bring different textures and flavors together.
Step 5: Finish with Avocado & Chips
Finally, gently place your cubed avocado on top. Just before serving, scatter tortilla chips over everything for that delightful crunch! A dollop of sour cream finishes off this beautiful salad perfectly.
With these simple steps, you’ll create a stunning Layered Taco Salad that’s packed with flavor and ready to impress! Enjoy sharing this recipe with friends and family—it’s sure to become a favorite at your gatherings.
Pro Tips for Making Layered Taco Salad
Creating a Layered Taco Salad is a breeze, but these helpful tips will ensure that yours turns out perfectly every time!
Use lean ground beef: Opting for 85% lean ground beef cuts down on excess grease, resulting in a cleaner flavor and texture in your salad.
Layer strategically: Start with the lettuce at the bottom to keep it crisp, then build each layer thoughtfully. This helps maintain the integrity of each ingredient and enhances the visual appeal.
Chill before serving: Allowing your salad to sit in the refrigerator for about 30 minutes before serving lets the flavors meld together beautifully, creating a more delicious dish.
Customize toppings: Feel free to swap in or out any ingredients based on your taste! Black beans, corn, or jalapeños can add extra flavor and variety to your salad.
Serve immediately for crunch: To preserve the crunch of the tortilla chips, add them right before serving. This keeps them from getting soggy and ensures every bite is delightful.
How to Serve Layered Taco Salad
Serving a Layered Taco Salad can be as fun as making it! Its colorful layers create an eye-catching presentation that is sure to impress your guests. Here are some ideas to elevate your dining experience.
Garnishes
Fresh cilantro: Just a sprinkle of freshly chopped cilantro adds a vibrant burst of flavor and brightens up the dish visually.
Lime wedges: Serving lime wedges on the side gives guests the option to squeeze fresh lime juice over their individual servings, enhancing the overall taste with a zesty kick.
Side Dishes
Mexican Street Corn Salad: This creamy and tangy salad combines sweet corn with mayo, lime juice, and spices for a refreshing complement that pairs perfectly with taco flavors.
Guacamole and veggie sticks: Fresh guacamole served alongside crisp veggie sticks like carrots and bell peppers offers a great way to add crunch and nutrition while enhancing your taco theme.
Chips and salsa: A classic pairing, offering crispy tortilla chips with homemade or store-bought salsa will keep everyone snacking happily while they enjoy their layered salad.
Quinoa Salad: A light quinoa salad tossed with black beans, corn, tomatoes, and avocado makes for a nutritious side that complements the richness of the taco salad beautifully.
Embrace these serving suggestions to create a delightful meal that brings everyone together around your delicious Layered Taco Salad! Enjoy!
Make Ahead and Storage
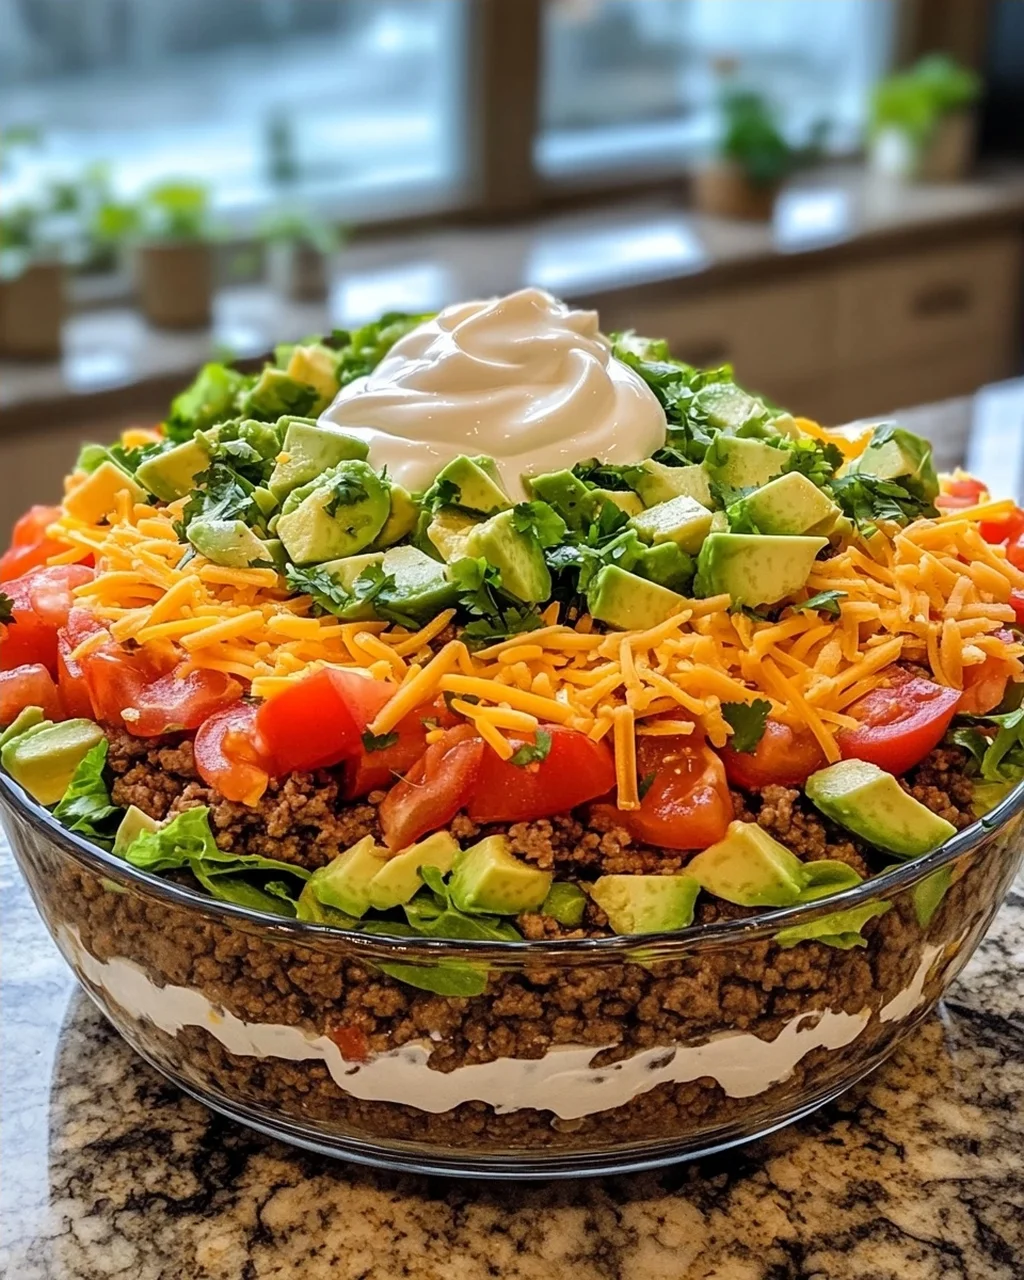
This Layered Taco Salad is not only a feast for the eyes but also an excellent choice for meal prep! You can prepare it in advance, allowing the flavors to meld together beautifully while maintaining that fresh crunch. Here’s how to handle your leftovers or make it ahead of time.
Storing Leftovers
- Keep the salad components separate to preserve freshness.
- Store the beef, cheese, and vegetables in airtight containers in the fridge.
- Assemble the salad (without tortilla chips and sour cream) and refrigerate for up to 2 days.
Freezing
- This salad is best enjoyed fresh; avoid freezing it as ingredients like lettuce and avocado do not thaw well.
- If you need to freeze, consider freezing just the seasoned beef in an airtight container for up to 3 months.
Reheating
- When ready to enjoy your beef again, simply reheat it in a skillet over medium heat until warmed through.
- Assemble your salad fresh with toppings once you’re ready to serve!
FAQs
Here are some common questions about the Layered Taco Salad that might help you as you prepare this delightful dish.
Can I make Layered Taco Salad vegetarian?
Absolutely! Simply substitute the ground beef with your favorite plant-based protein, such as lentils or black beans, and follow the same assembly instructions.
How long can I keep my Layered Taco Salad in the fridge?
If stored properly without chips or sour cream, your Layered Taco Salad will stay fresh for up to 2 days. It’s best to add fresh ingredients right before serving.
What can I use instead of sour cream for my Layered Taco Salad?
You can use Greek yogurt as a healthier alternative or a dairy-free yogurt option if you prefer something non-dairy. Both will give a delicious creamy finish!
Final Thoughts
I hope this Layered Taco Salad brings joy and ease to your mealtime! It’s a wonderful way to gather friends and family around a table full of colors and flavors. Whether you’re making it for a busy weeknight or a fun gathering, I’m sure you’ll love every bite. Enjoy creating your masterpiece, and don’t forget to share how it turned out—I’d love to hear from you! Happy cooking!

Layered Taco Salad
- Total Time: 25 minutes
- Yield: 6 servings 1x
Description
A vibrant, no-fuss meal that combines seasoned ground beef with fresh vegetables and creamy toppings, perfect for busy weeknight dinners or casual gatherings.
Ingredients
- 1 pound ground beef (85% lean)
- 1 packet taco seasoning (1 ounce)
- 1 head iceberg or romaine lettuce (chopped)
- 1 can diced tomatoes (14.5 ounces, drained)
- 2 ripe avocados (peeled, pitted, and cubed)
- 2 cups shredded cheddar cheese (divided)
- 1 cup sour cream
- 1 bag tortilla chips (10–12 ounces)
Instructions
- Brown the ground beef in a skillet over medium-high heat, draining excess fat once cooked. Add taco seasoning and ¼ cup water, simmering for 2-3 minutes until thickened. Set aside to cool slightly.
- In a large clear bowl or baking dish, spread half of the chopped lettuce to form the base layer.
- Layer the cooked beef over the lettuce, then sprinkle 1 cup of cheddar cheese on top.
- Add the drained diced tomatoes, followed by the remaining lettuce and the second cup of cheese.
- Gently place the cubed avocado on top. Just before serving, scatter tortilla chips over the salad and dollop with sour cream.
- Prep Time: 15 minutes
- Cook Time: 10 minutes
- Category: Main Course, Salad
- Cuisine: Mexican
Nutrition
- Serving Size: 1
- Calories: 450
- Sugar: 2
- Sodium: 800
- Fat: 30
- Saturated Fat: 12
- Unsaturated Fat: 15
- Trans Fat: 1
- Carbohydrates: 30
- Fiber: 5
- Protein: 25
- Cholesterol: 80
Keywords: Store leftovers without chips and sour cream in the fridge for up to 2 days. Add fresh toppings before serving. Do not freeze.