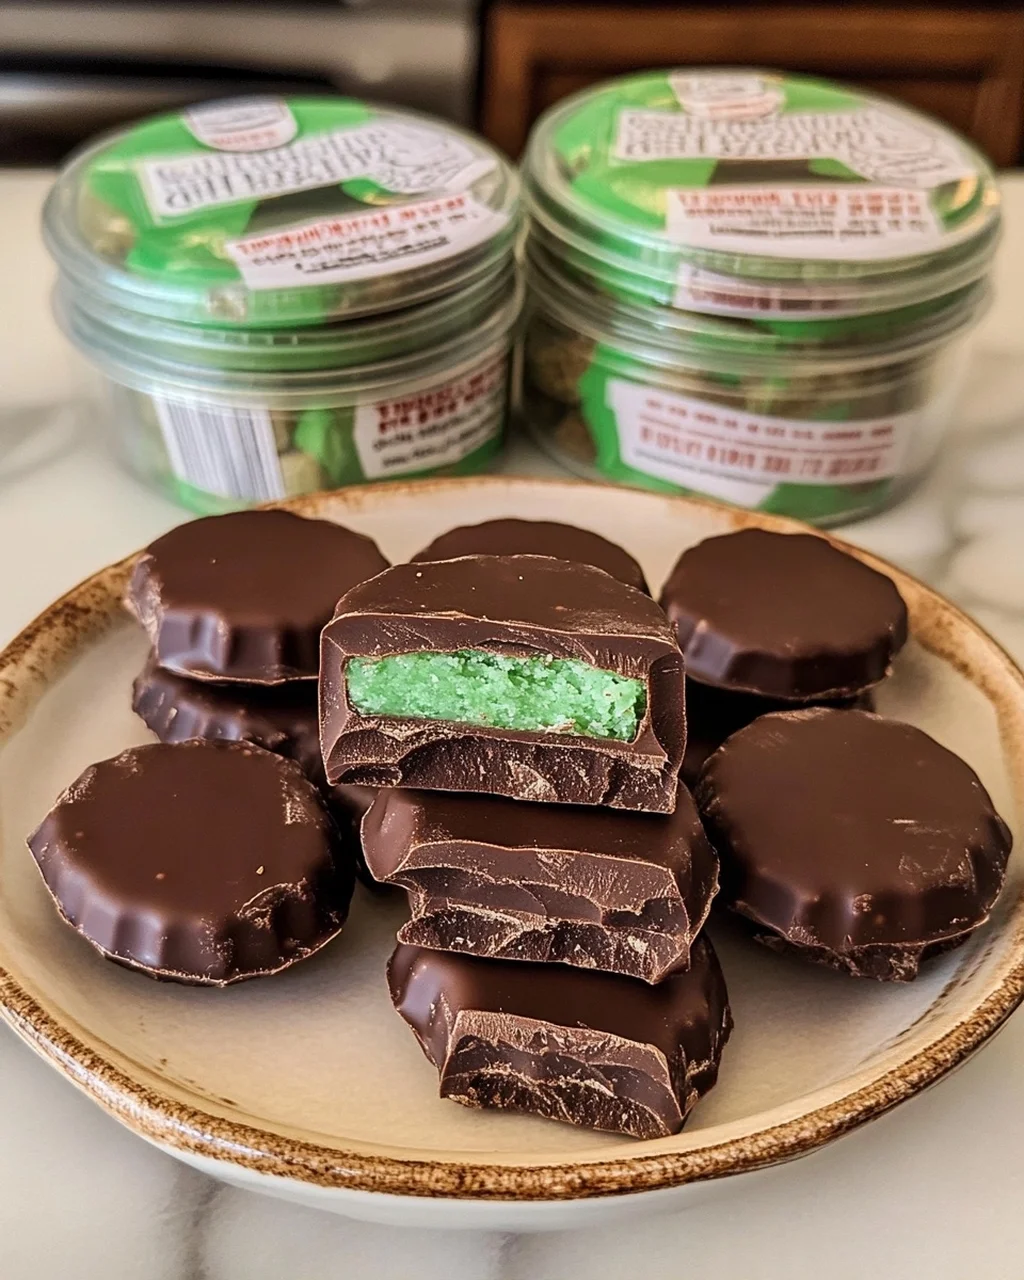
If you’re looking for a way to sweeten up your day, you’ve come to the right place! Today, I’m excited to share with you Four Homemade Candy Recipes that will surely delight your taste buds and bring a smile to your face. These recipes are not just delicious but also simple enough for anyone to whip up in their own kitchen. Whether it’s a busy weeknight or a special family gathering, these treats are perfect for any occasion.
I love making these candies because they remind me of cozy afternoons spent in the kitchen with loved ones. Each recipe is unique and packed with flavor, making it hard to pick a favorite. So, roll up your sleeves and get ready to create some sweet memories!
Why You’ll Love This Recipe
- Easy to prepare: With straightforward steps, even novice cooks can join in the fun!
- Family-friendly appeal: These candies are sure to please both kids and adults alike.
- Make-ahead convenience: Perfect for prepping ahead of time for gatherings or gifting.
- Delicious flavors: Each recipe has its own delightful taste that everyone will enjoy.

Ingredients You’ll Need
Let’s gather our ingredients! You’ll find that these are simple, wholesome items that you probably already have in your pantry. With just a few steps, you’ll be on your way to creating delightful homemade candies.
For ANDES Mints
- 1 cup semi-sweet chocolate chips
- 1/2 cup unsalted butter (softened)
- 1 teaspoon peppermint extract
- 2 cups powdered sugar
- Green food coloring gel
For Milky Ways Candy
- 1 cup granulated sugar
- 1/2 cup light corn syrup
- 1/2 cup heavy cream
- 1/4 cup unsalted butter
- 1/2 cup powdered sugar
- 1/2 cup milk chocolate chips
- 1/2 cup white chocolate chips
For Cool Whip Candy
- 1 jar (7 oz vegan marshmallows fluff)
- 1 container (8 oz Cool Whip, thawed)
- 1/2 teaspoon vanilla extract
- 1 cup crushed graham crackers
- 1/2 cup mini chocolate chips
- 1/2 cup sprinkles
For Peanut Butter Cups
- 1 cup creamy peanut butter
- 1/2 cup powdered sugar
- 2 tablespoons unsalted butter (softened)
- 1 teaspoon vanilla extract
- 1/2 teaspoon salt
- 1 1/2 cups semi-sweet chocolate chips
- 1 tablespoon coconut oil
Variations
One of the best things about these candy recipes is their flexibility! Feel free to get creative and make them your own with these fun variations:
- Swap the chocolate: Use dark or white chocolate instead of semi-sweet for different flavor profiles.
- Add nuts: Mix in chopped nuts like almonds or walnuts for an extra crunch.
- Change the flavoring: Experiment with different extracts like almond or orange for a twist.
- Dye the filling: Get festive by using different colors of food gel to match holidays or themes!
How to Make Four Homemade Candy Recipes
Step 1: Prepare the ANDES Mints
Start by melting the semi-sweet chocolate chips in a microwave-safe bowl. Do this in 30-second intervals until smooth. While that cools, beat together softened butter and peppermint extract until pale and fluffy. Gradually add sifted powdered sugar and green food coloring gel until you have a thick filling. Scoop out small balls of this mixture and freeze them for about 15 minutes before dipping them into the melted chocolate. This step is crucial as it helps create that crisp outer shell we all love!
Step 2: Create Milky Ways Candy
In a saucepan over medium heat, combine granulated sugar and light corn syrup. Stir until dissolved, then let it cook undisturbed with a candy thermometer attached until it reaches 248°F (the soft-ball stage). Carefully pour in warm heavy cream and butter, stirring continuously until smooth. Bringing everything back to boil is key here before pouring into a greased pan lined with parchment. This will help set the caramel perfectly! Once cooled, cut into rectangles and dip into melted milk and white chocolate—trust me; this is where the magic happens!
Step 3: Whip Up Cool Whip Candy
In a large bowl, gently fold together vegan marshmallow fluff and thawed Cool Whip until well combined without deflating it too much. Add vanilla extract along with crushed graham crackers, mini chocolate chips, and sprinkles—what’s not to love? Transfer this mixture into an 8×8 inch dish lined with plastic wrap or parchment paper, pressing down firmly for an even layer. Refrigerate it for at least two hours so it can set properly before cutting into squares.
Step 4: Assemble Peanut Butter Cups
Mix creamy peanut butter with powdered sugar, softened butter, vanilla extract, and salt until it forms a thick paste. Roll this mixture into small balls, flatten them slightly, and freeze again for about 20 minutes. Meanwhile, melt together semi-sweet chocolate chips and coconut oil until smooth. Pour some melted chocolate into liners to form cups before placing one frozen peanut butter disc inside each one—then cover completely with more melted chocolate! Chilling them ensures they set nicely so you can pop them out without mess.
And there you have it—your very own batch of Four Homemade Candy Recipes! Enjoy sharing these treats with friends and family or keep them all to yourself—no judgment here!
Pro Tips for Making Four Homemade Candy Recipes
Making candy at home can be a delightful adventure, and these tips will ensure your sweet creations are a hit!
Use Quality Ingredients: Choosing good-quality chocolate and fresh ingredients enhances the flavor of your candies significantly. Your taste buds will thank you!
Temperature Matters: Pay attention to the temperature when melting chocolate or cooking sugar. Too hot can burn them, while too cool can prevent proper melting or setting.
Chill as Needed: Don’t skip the chilling steps! Allowing your candies to chill helps them set properly and makes them easier to handle during assembly.
Clean Tools: Have all your tools and utensils ready and clean before starting. This not only helps streamline the process but also ensures that no unwanted flavors affect your candy.
Experiment with Flavors: Feel free to add your own twist by incorporating different extracts or mix-ins. This is your chance to get creative, so have fun with it!
How to Serve Four Homemade Candy Recipes
Presentation is key when it comes to serving homemade candy. Here are some ideas to make your sweets stand out at any gathering!
Garnishes
- Fresh Mint Leaves: Adding a few fresh mint leaves on top of your mints or alongside the candy platter brings a pop of color and a refreshing aroma.
- Chocolate Drizzle: A light drizzle of melted chocolate over the Cool Whip Candy adds elegance and an extra layer of sweetness.
- Colorful Sprinkles: For a fun touch, sprinkle some colorful nonpareils on top of your candies right after coating them in chocolate.
Side Dishes
- Fruit Platter: A vibrant assortment of fresh fruits like strawberries, apples, and grapes can balance the sweetness of the candies and add a refreshing element.
- Cheese Board: Pairing your candies with a selection of mild cheeses creates a delightful contrast in flavors—think creamy brie or tangy goat cheese.
- Nut Mix: A bowl of assorted nuts offers a crunchy texture that complements the soft, sweet candies. Choose lightly salted nuts for a savory touch.
- Coffee or Tea: Serving these candies with freshly brewed coffee or herbal tea provides an appealing beverage option that enhances their flavors beautifully.
With these tips and serving suggestions, you’re well on your way to impressing friends and family with your delicious homemade candy creations! Happy cooking!
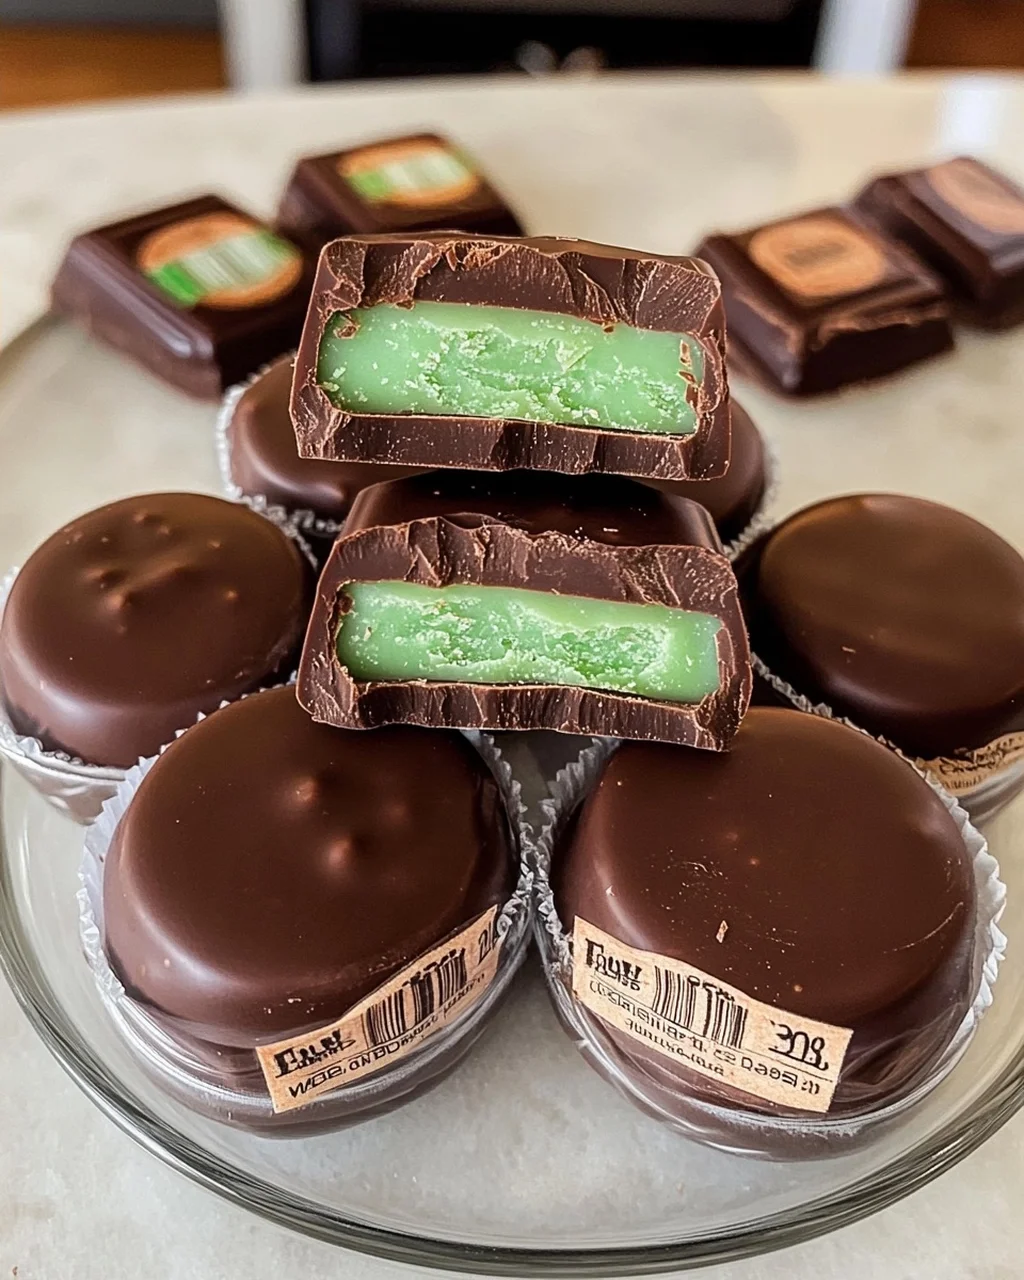
Make Ahead and Storage
These homemade candy recipes are perfect for meal prep! You can make them ahead of time, saving you precious moments during busy days or special occasions. Here’s how to store and keep your delectable treats fresh.
Storing Leftovers
- Store leftover candies in an airtight container at room temperature for up to 3 days.
- For longer freshness, refrigerate the candies in a sealed container for up to 5 days.
- Keep different types of candies stored separately to maintain their unique flavors and textures.
Freezing
- For longer storage, you can freeze the candies. Place them in a single layer on a baking sheet until firm.
- Once frozen, transfer them into a zip-top freezer bag or airtight container, separating layers with parchment paper to prevent sticking.
- Frozen candies can last up to 3 months in the freezer. Just let them thaw at room temperature before enjoying.
Reheating
- If you need to soften any candy that’s gotten too hard, simply let it sit at room temperature for about 15-20 minutes.
- Avoid using a microwave, as it may alter the texture of the candy.
FAQs
Have questions about these delightful treats? Here are some common inquiries we receive!
Can I make these Four Homemade Candy Recipes without using animal-derived gelatin?
Absolutely! Each of these recipes is designed without any animal-derived gelatin. They rely on other delicious ingredients that provide great texture and flavor.
How long will the Four Homemade Candy Recipes stay fresh?
If stored properly in an airtight container, these candies will stay fresh for up to 5 days at room temperature or even longer if refrigerated or frozen.
What if my chocolate is too thick when dipping?
If your chocolate becomes too thick during dipping, simply stir in a teaspoon of vegetable shortening. This will help restore fluidity without changing the taste.
Can I customize the flavors in these candy recipes?
Definitely! Feel free to experiment with different extracts or mix-ins according to your preferences. Just ensure that they are suitable substitutes for any ingredients listed.
Are there alternatives for heavy cream in these recipes?
Yes! You can substitute heavy cream with coconut cream or a non-dairy alternative like cashew cream to keep the recipes creamy without using dairy products.
Final Thoughts
I hope you enjoy making these Four Homemade Candy Recipes as much as I do! Each one brings a special touch of sweetness that’s perfect for sharing with loved ones or enjoying during cozy evenings at home. Remember, cooking is all about experimenting and having fun—so don’t hesitate to get creative with flavors and presentations. Happy candy-making, and may your sweet creations bring joy to your table!
Homemade Mints
- Total Time: 1 hour 30 minutes
- Yield: 4 servings 1x
Description
These homemade mints feature a crisp chocolate shell surrounding a refreshing, cool mint filling.
Ingredients
- 1 cup semi-sweet chocolate chips
- 1/2 cup unsalted butter (softened)
- 1 teaspoon peppermint extract
- 2 cups powdered sugar
- green food coloring gel
- 1 cup granulated sugar
- 1/2 cup light corn syrup
- 1/2 cup heavy cream
- 1/4 cup unsalted butter
- 1/2 cup powdered sugar
- 1/2 cup milk chocolate chips
- 1/2 cup white chocolate chips
- 1 jar marshmallow fluff (7 oz)
- 1 container Cool Whip (8 oz, thawed)
- 1/2 teaspoon vanilla extract
- 1 cup crushed graham crackers
- 1/2 cup mini chocolate chips
- 1/2 cup sprinkles
- 1 cup creamy peanut butter
- 1/2 cup powdered sugar
- 2 tablespoons unsalted butter (softened)
- 1 teaspoon vanilla extract
- 1/2 teaspoon salt
- 1 1/2 cups semi-sweet chocolate chips
- 1 tablespoon coconut oil
Instructions
- Melt chocolate chips in a microwave-safe bowl in 30-second intervals until smooth; beat softened butter and peppermint extract until pale and fluffy, gradually add sifted powdered sugar and green gel food coloring to form a thick filling; scoop 1/2 teaspoon of mixture into balls, place on parchment paper, and freeze for 15 minutes; dip frozen centers into melted chocolate using a fork, tap off excess, and place back on parchment; allow to set at room temperature or refrigerate for 10 minutes until hard.
- Combine granulated sugar and corn syrup in a saucepan over medium heat, stirring until dissolved then cooking undisturbed with a candy thermometer attached until reaching 248°F (soft-ball stage); carefully pour in warm heavy cream and butter, stir continuously until smooth, return to boil and cook again to 248°F; pour hot caramel into a greased 8×8 inch pan lined with parchment, sprinkle with powdered sugar, and let sit undisturbed for 1 hour; cut slab into 2-inch rectangles, melt milk and white chocolate chips in a double boiler or microwave until smooth; dip rectangles into chocolate, shake off excess, place on a wire rack, and refrigerate for 20 minutes until firm.
- In a large bowl, gently fold marshmallow fluff and thawed Cool Whip together until uniform without deflating the mixture; fold in vanilla extract, crushed graham crackers, mini chocolate chips, and sprinkles; transfer mixture to an 8×8 inch dish lined with plastic wrap or parchment, pressing down firmly to create an even layer; cover and refrigerate for at least 2 hours to set; lift out using the liner overhang and cut into squares with a sharp knife dipped in warm water.
- Mix creamy peanut butter, powdered sugar, softened butter, vanilla, and salt in a medium bowl until a thick spreadable paste forms; roll 1 tablespoon of mixture into balls, flatten into discs, place on parchment-lined sheet, and freeze for 20 minutes; combine chocolate chips and coconut oil in a microwave-safe bowl, melting in 30-second intervals until smooth; pour a small amount of chocolate into silicone or foil liners to form a cup shape, spreading up the sides; place one frozen peanut butter disc into each cup, cover completely with more melted chocolate, and smooth tops; refrigerate for 30 minutes until hardened, then pop out of liners.
- Prep Time: 60 minutes
- Cook Time: 30 minutes
Nutrition
- Serving Size: 1
Keywords: ANDES Mints Tips: If the chocolate becomes too thick while dipping, stir in a teaspoon of vegetable shortening to restore fluidity without altering the taste. Milky Ways Candy Tips: If the caramel hardens too much before you can shape it, reheat it gently in the microwave for 10 seconds to soften it back down. Cool Whip Candy Tips: Store these candies in an airtight container in the refrigerator for up to 5 days, as they are prone to melting at room temperature. Peanut Butter Cups Tips: If the chocolate cracks when setting, ensure both the chocolate and the filling are at compatible temperatures before combining.